
Product Photoshoot: 12 Shot Recipes from One Product Image
Product photography breaks for boring reasons: lighting, reflections, background clutter, and inconsistent angles. Product Photoshoot tries to fix that with one input image and a few dropdowns.
This guide runs 12 shot recipes on the same product image. Each recipe changes only two settings: style and plan.
What Product Photoshoot does
Product Photoshoot takes a product image and generates a new photoshoot-style result. It targets common e-commerce needs: clean hero shots, detail crops, packaging context, and lifestyle scenes.
- Input: one product photo
- Controls used here: style + plan (outputType=image)
- Output: one image per run
Test setup
All 12 runs used the same input image. Only style and plan changed.

12 shot recipes (with real outputs)
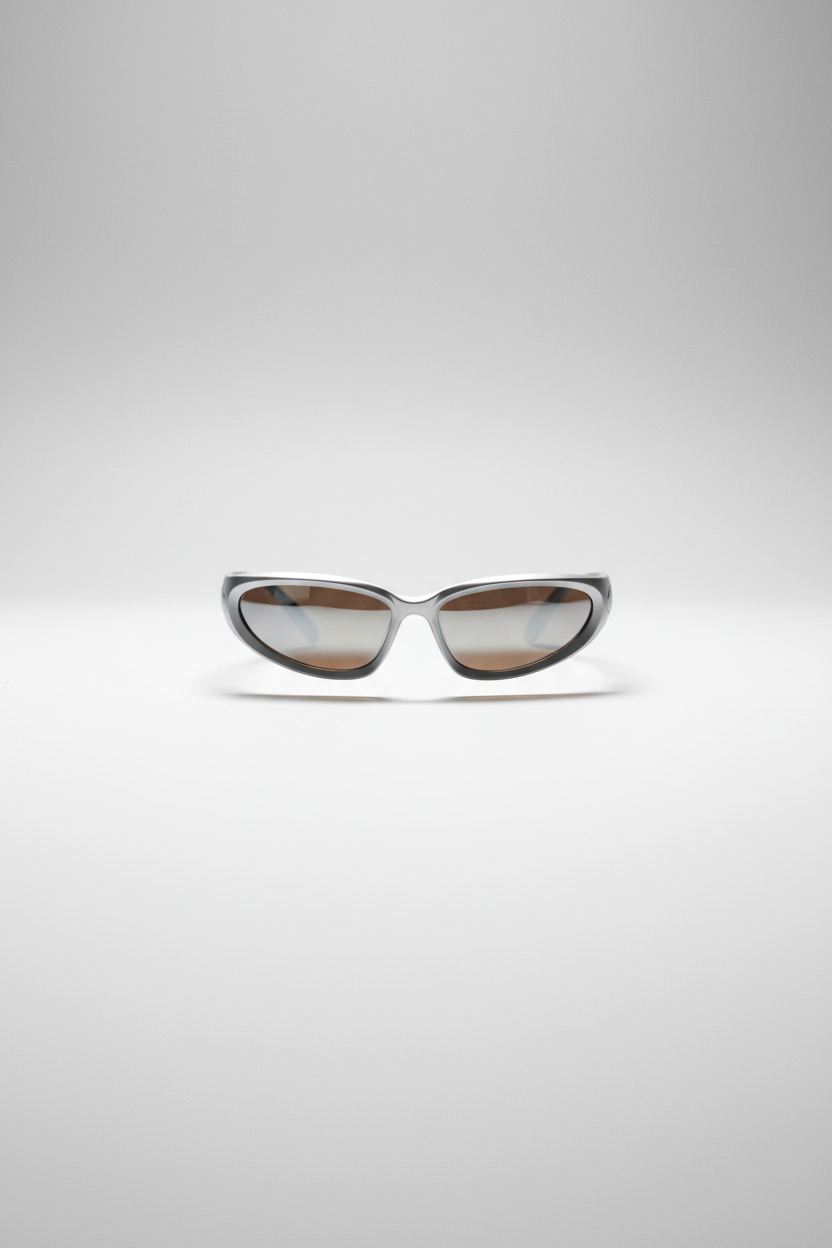
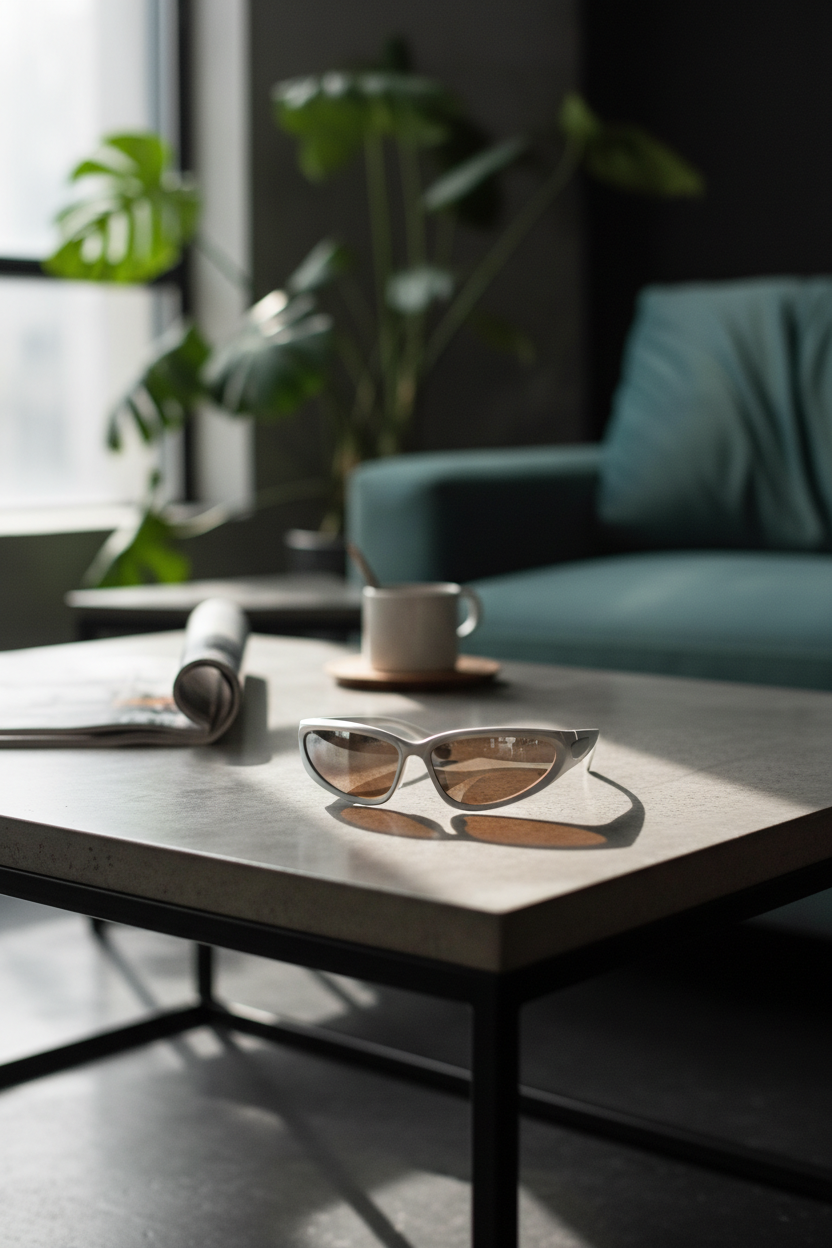
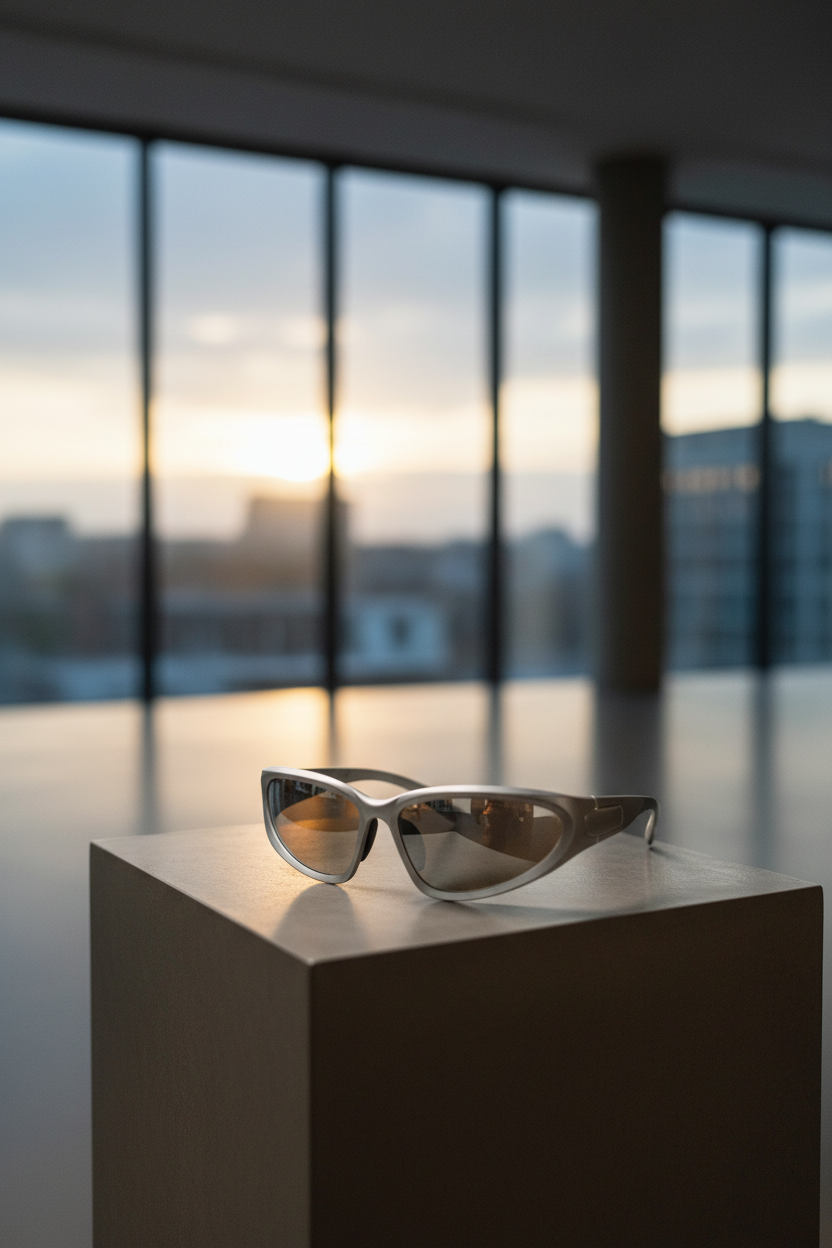
1) Studio hero shot
Clean lighting and a catalog-friendly background. This is the default safe pick for PDPs.
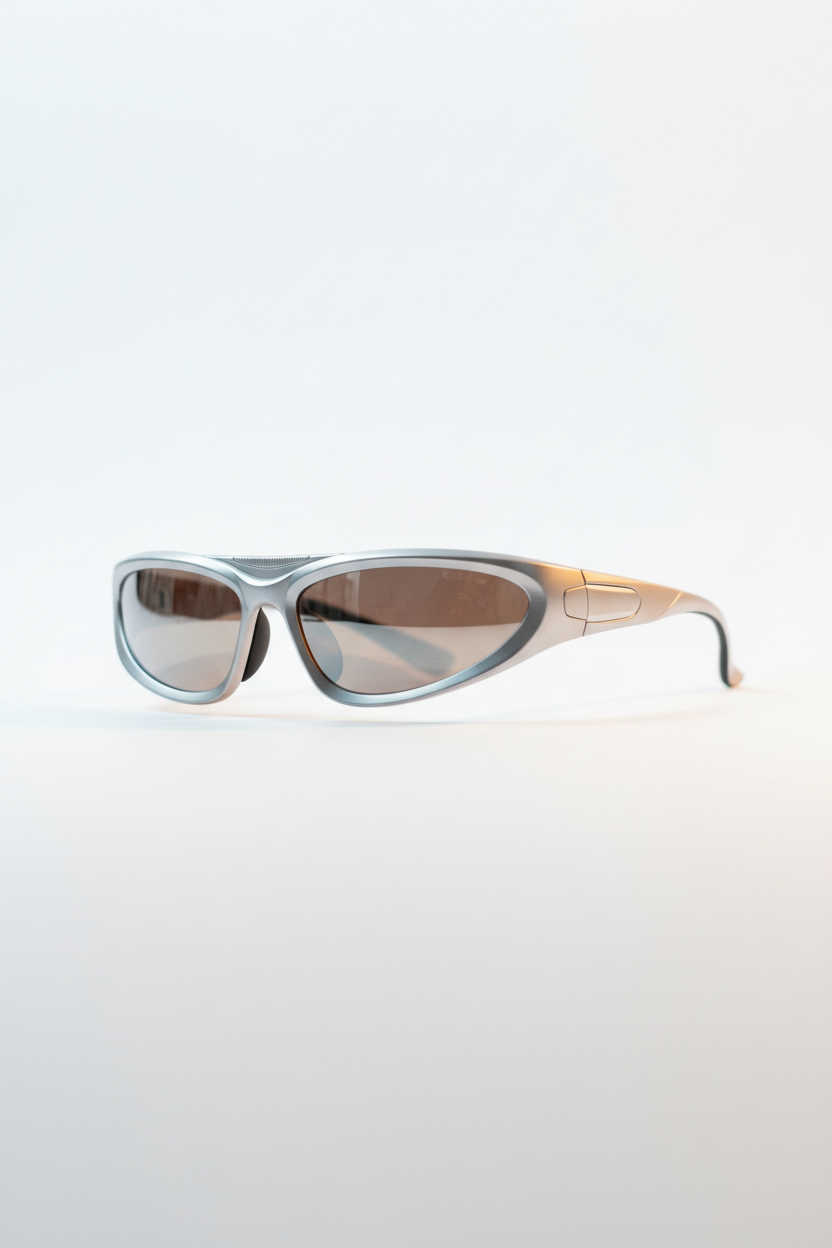
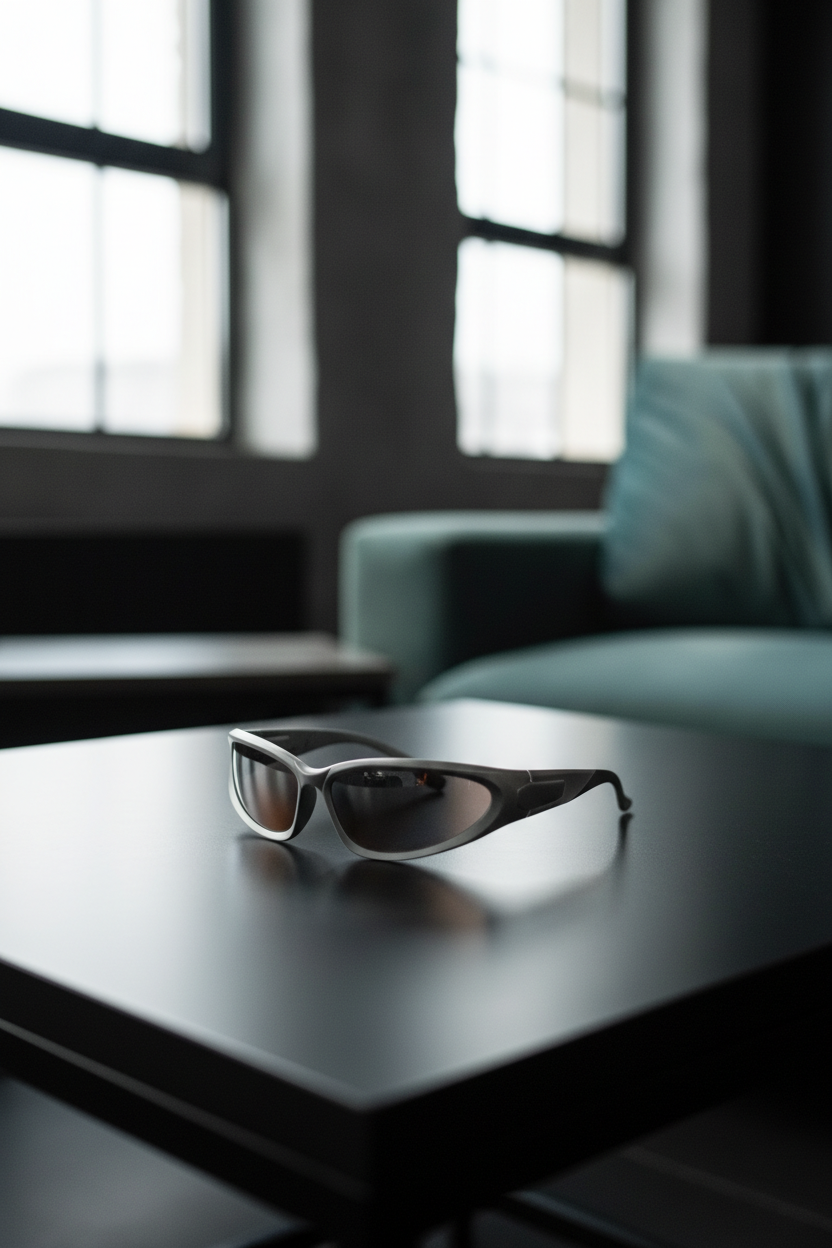
2) Studio close-up (detail crop)
Use this when the product sells on texture, materials, or small design details.
3) Minimalist hero shot
Less scene, more product. Good for brands that want whitespace and calm layouts.
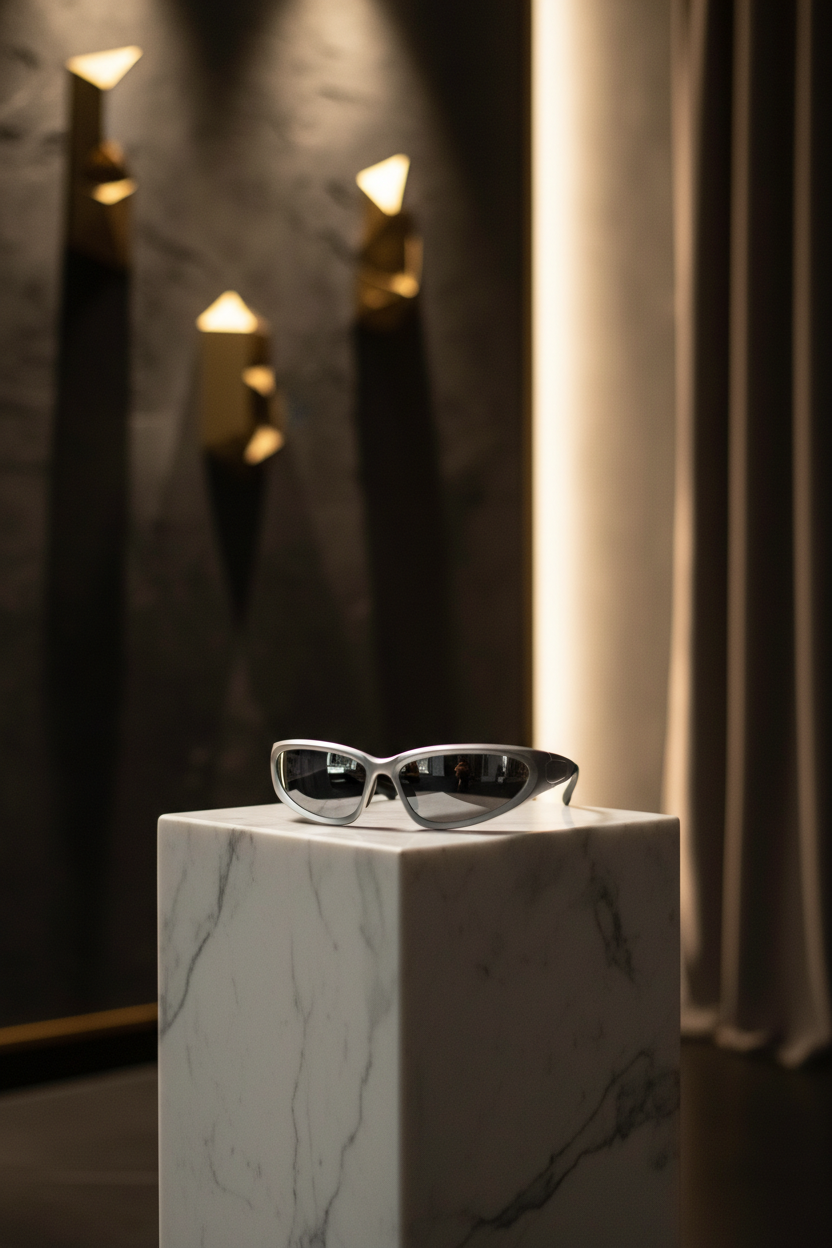
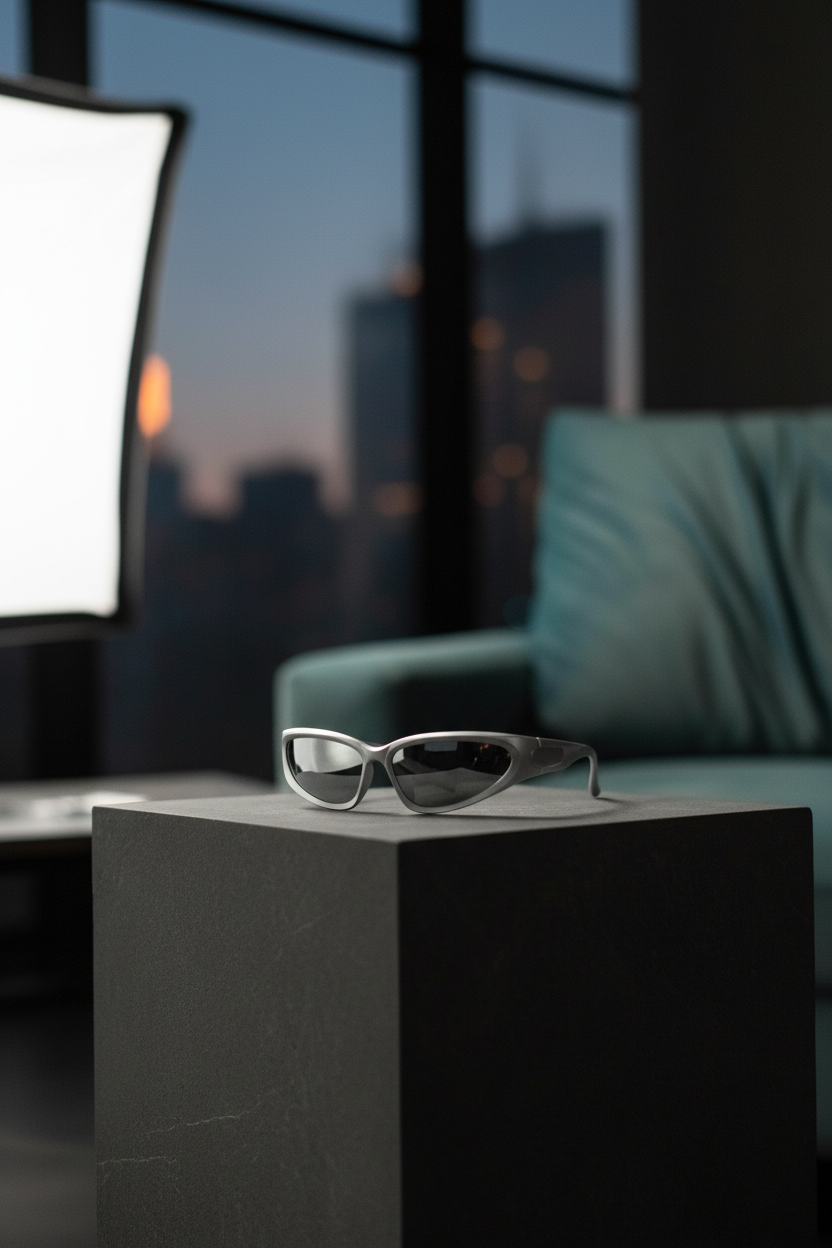
4) Luxury hero shot
Richer lighting and mood. Works best for premium SKUs and homepage banners.
5) Lifestyle action shot
Shows usage context. This is the kind of image that can carry an ad creative.
6) Lifestyle scale context
Scale shots help reduce surprises. This recipe focuses on size cues.
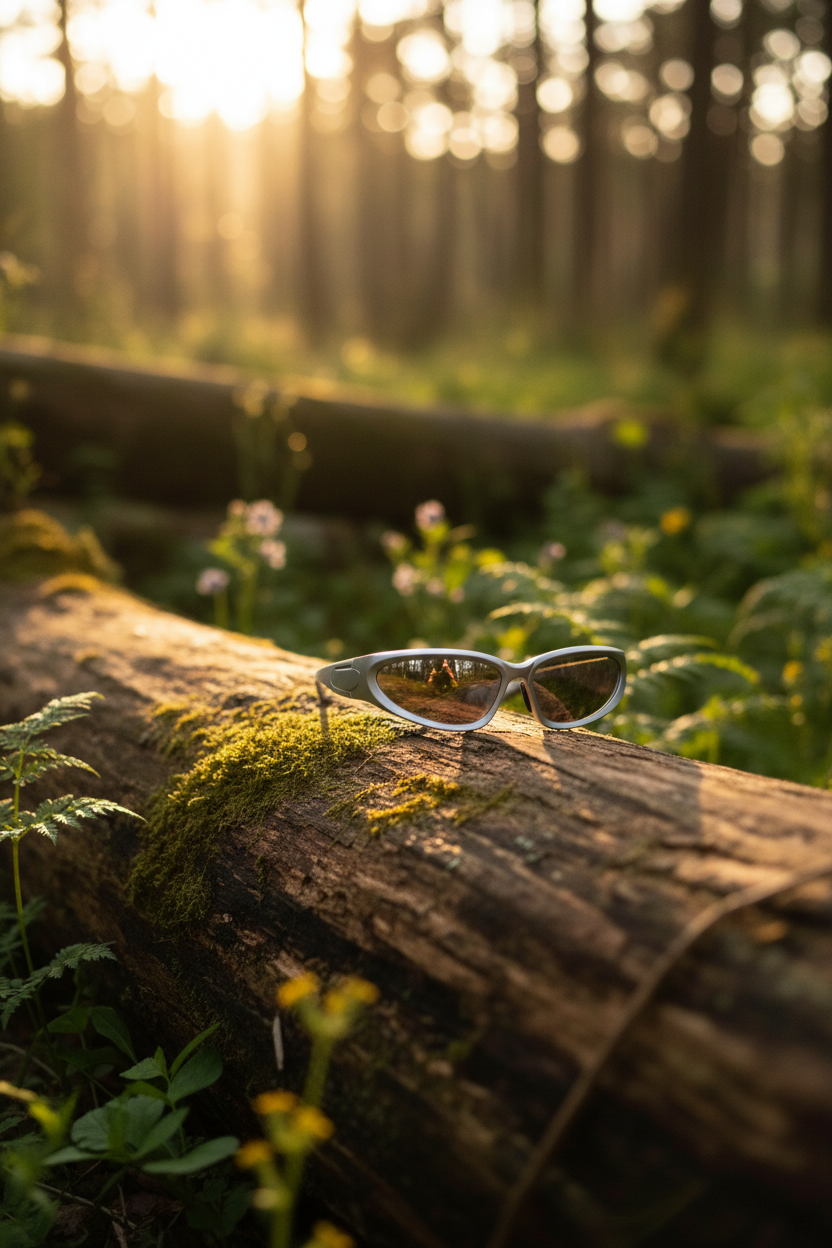
7) Outdoor hero shot
Natural light vibes without turning into a busy scene. Works well for social posts.
8) Outdoor action shot
More motion and energy. This one can look great, but it can also introduce artifacts on edges.

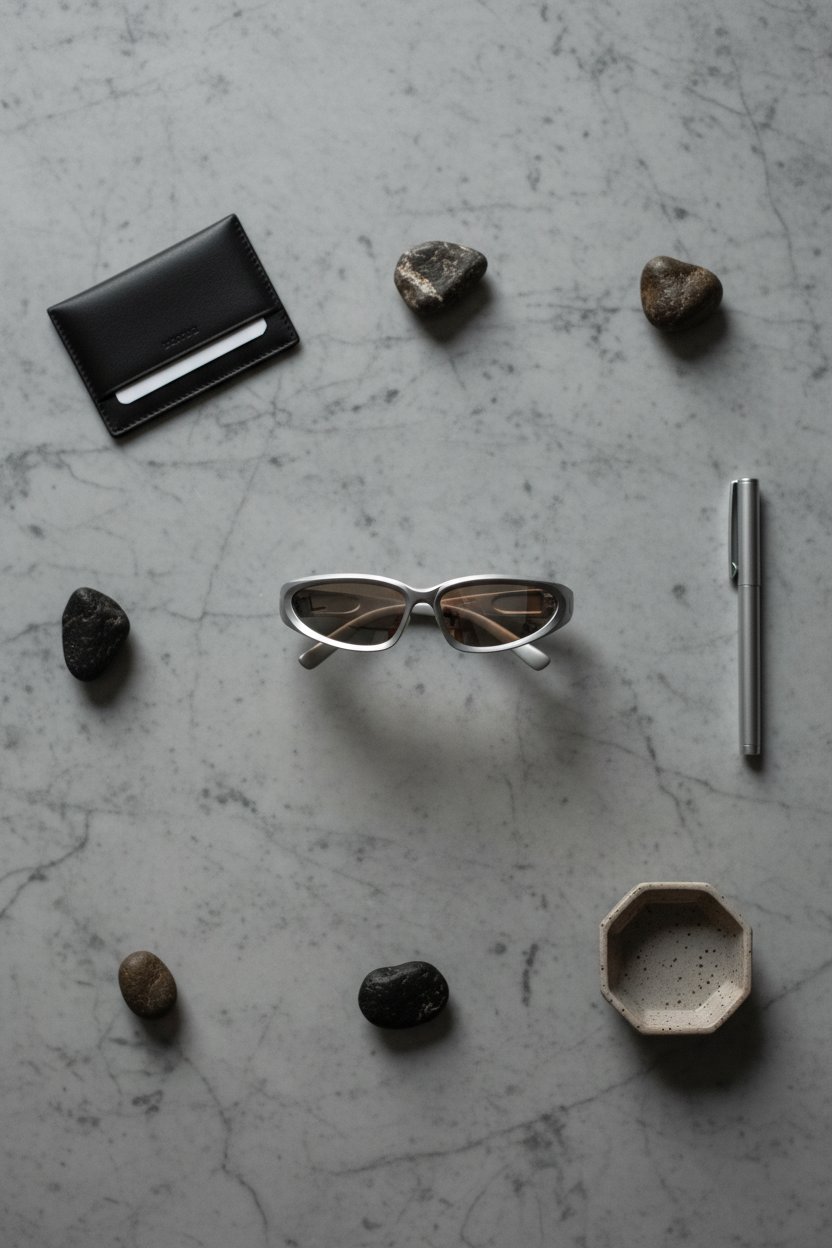
9) Flat-lay packaging
Packaging shots set expectations and reduce support tickets. This recipe tries to make packaging feel intentional.
10) Flat-lay close-up
Detail shot without a model or environment. Good for feature callouts and carousels.

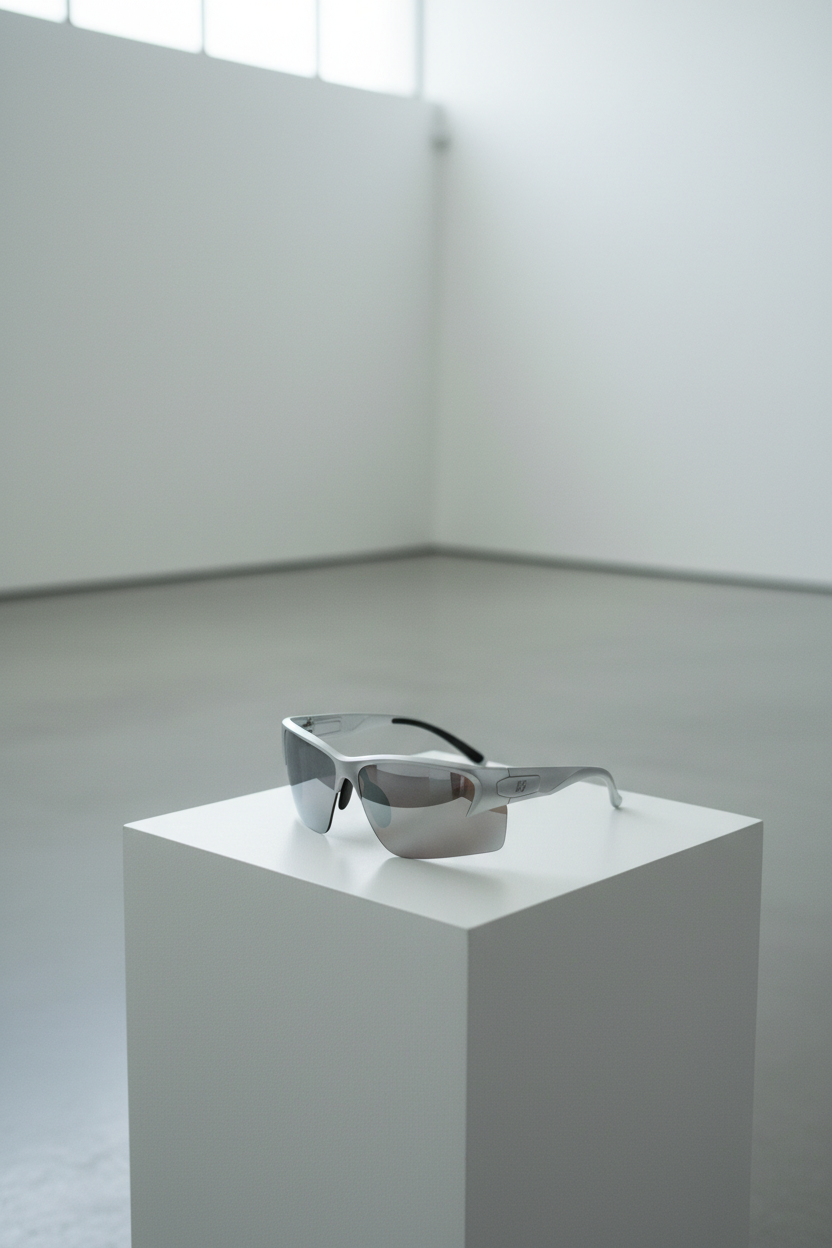
11) Editorial hero shot
More like a magazine product page. This can add personality without going full lifestyle.
12) Auto style + auto plan
Fast baseline when no strong preference exists. It can also suggest a direction for the rest of the set.
Quick comparison table
| Recipe | Style | Plan | Best for | Observed runtime |
|---|---|---|---|---|
| Studio hero | studio | hero-shot | PDP main image | ~11s |
| Studio close-up | studio | close-up | Material detail | ~15s |
| Minimalist hero | minimalist | hero-shot | Clean brand layouts | ~10s |
| Luxury hero | luxury | hero-shot | Premium hero banners | ~11s |
| Lifestyle action | lifestyle | action-shot | Ads and landing pages | ~19s |
| Scale context | lifestyle | scale-context | Size cues | ~13s |
| Outdoor hero | outdoor | hero-shot | Social posts | ~10s |
| Outdoor action | outdoor | action-shot | Energy and motion | ~13s |
| Flat-lay packaging | flat-lay | packaging | Unboxing expectations | ~11s |
| Flat-lay close-up | flat-lay | close-up | Carousel details | ~13s |
| Editorial hero | editorial | hero-shot | Lookbook feel | ~10s |
| Auto baseline | auto | auto | First pass | ~10s |
Tips for better results
- Start with studio hero and studio close-up. These two usually cover the whole PDP.
- Use flat-lay packaging when the box and accessories matter.
- Pick one lifestyle recipe per SKU. Too many lifestyle scenes can make a catalog feel inconsistent.
- When an action shot looks odd, switch to scale-context. It often keeps realism higher.
Try it
Model link: https://wiro.ai/models/wiro/product-photoshoot