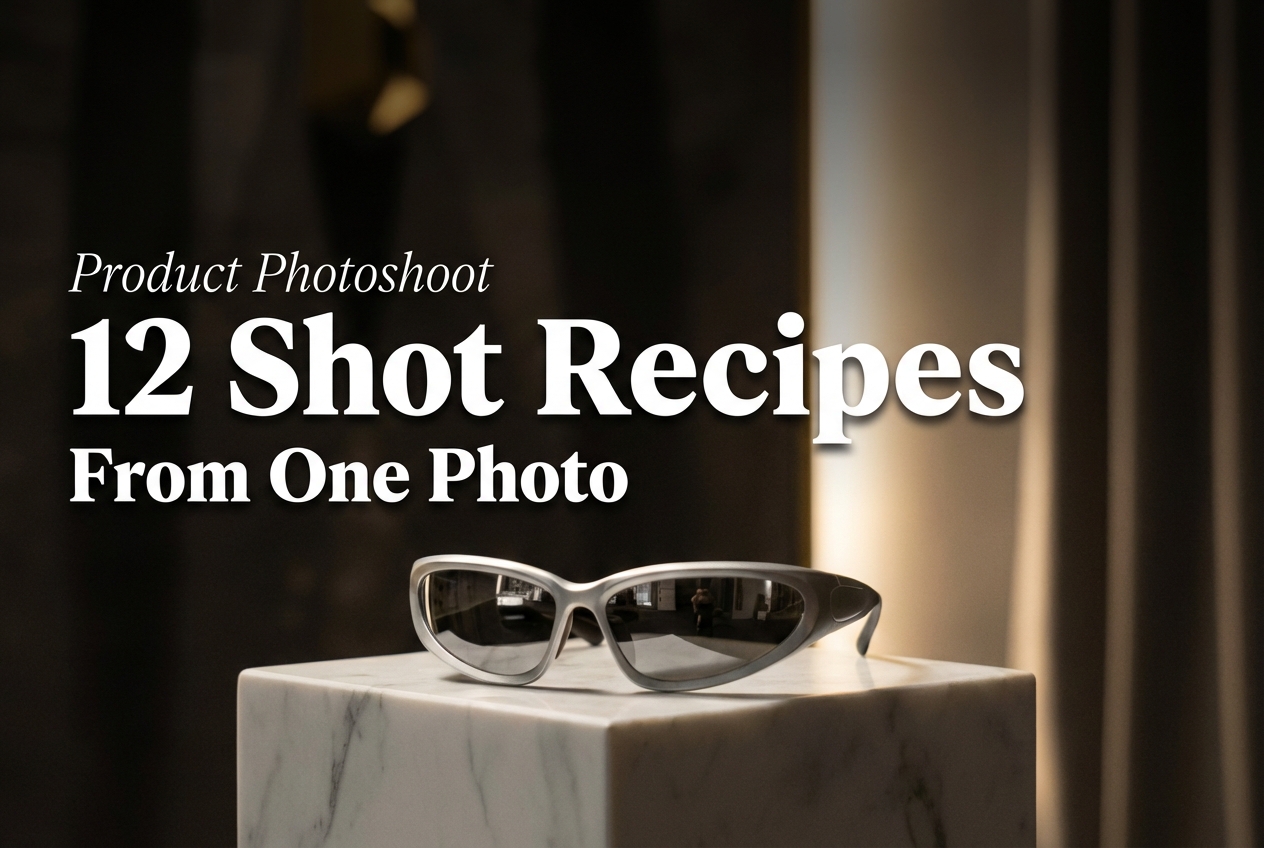
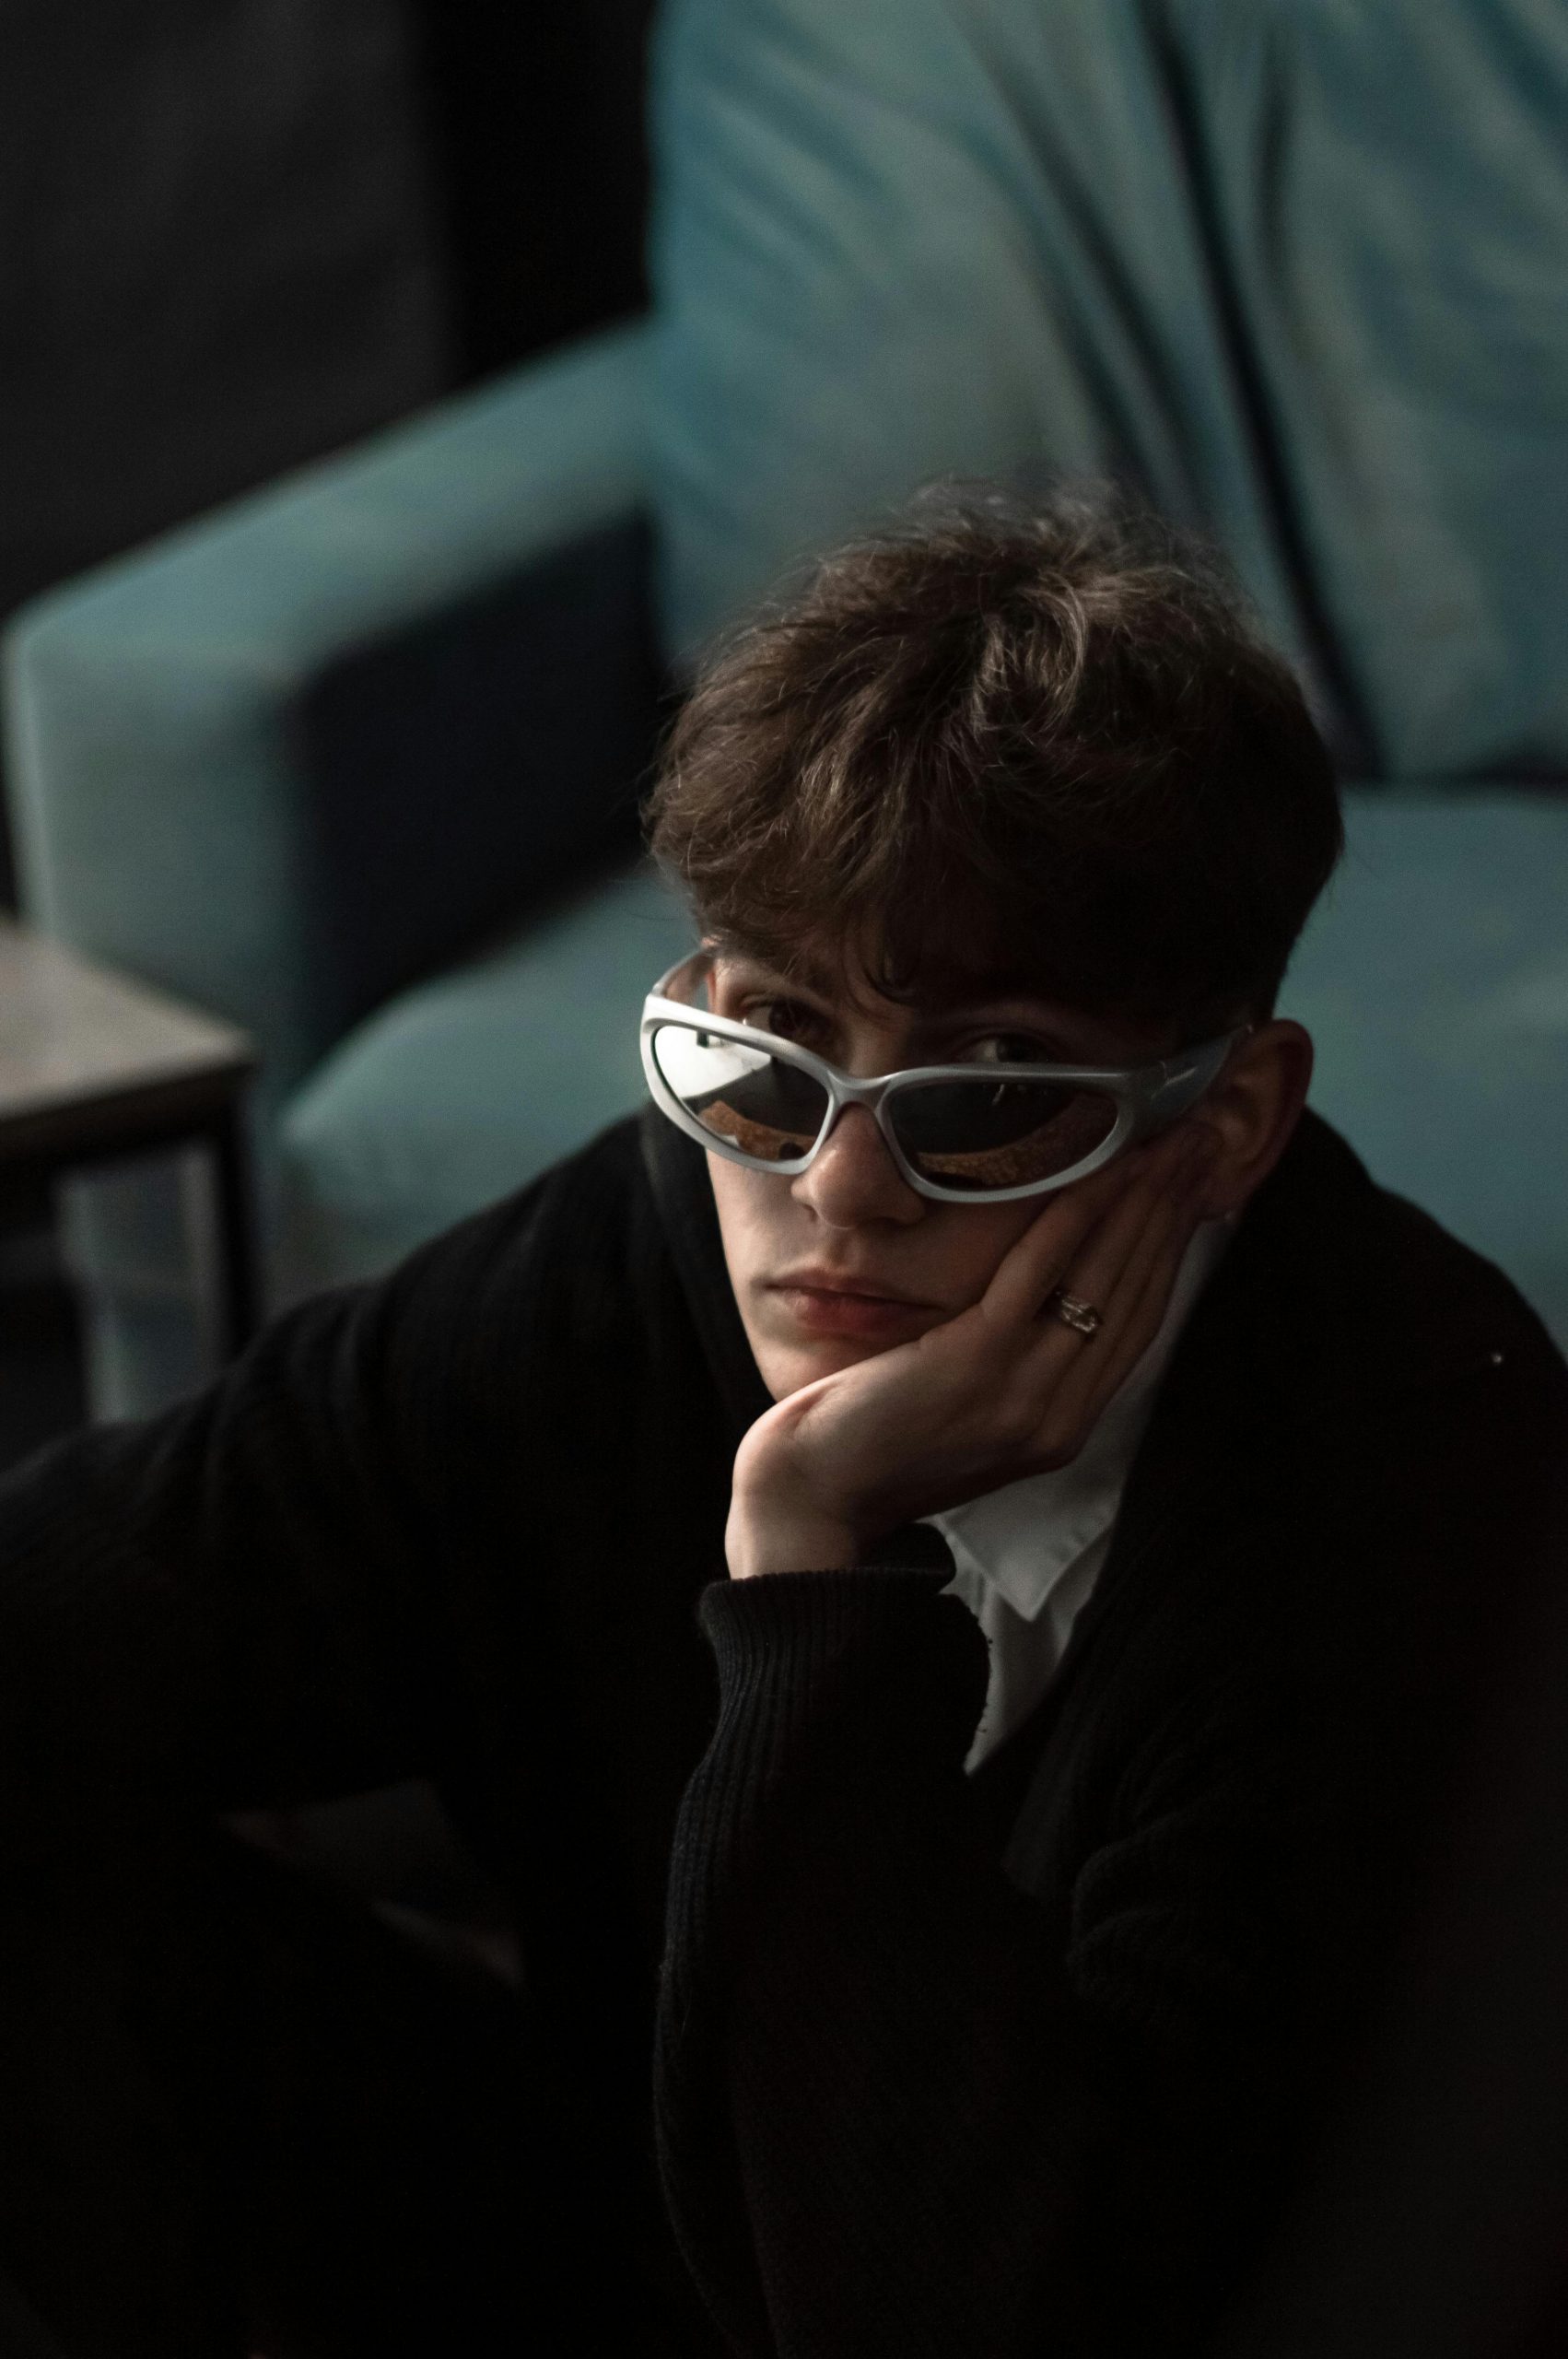
Product Photoshoot was tested here as a controlled product-image transformation tool, not as a replacement for a catalog shoot. One source image of silver sunglasses was held constant across 12 runs. The test changed the selected photography style and shot plan, then checked what stayed recognizable, what changed, and which compositions are useful for an ecommerce page.
The practical question was simple: can one clean product image produce a coherent set of detail, hero, lifestyle, outdoor, flat-lay, and editorial assets without reshooting the item? The results show a good range of art direction, but they also show why generated product imagery needs a review pass before it becomes a product claim. The sunglasses remain the subject throughout, while frame geometry, lens tint, and small hardware details drift between outputs.
Product Photoshoot test setup
The same vertical sunglasses source photo was used for every recipe. The archived run notes preserve style, plan, and outputType=image. The model documentation lists inputImage, style, plan, ratio, and outputType as inputs. It offers 16:9, 9:16, and 1:1 ratios, with 9:16 shown as the default. These saved outputs are portrait files, but the original run record does not preserve an explicit ratio value, so this article does not claim that a ratio was manually selected.
The controls are deliberately limited. style sets the visual direction: studio, lifestyle, minimalist, luxury, outdoor, flat-lay, editorial, or auto. plan sets the framing intent: close-up, hero-shot, scale-context, action-shot, packaging, or auto. That separation matters. A style changes lighting and environment; a plan changes what the frame is trying to communicate.
What the 12 Product Photoshoot outputs actually show
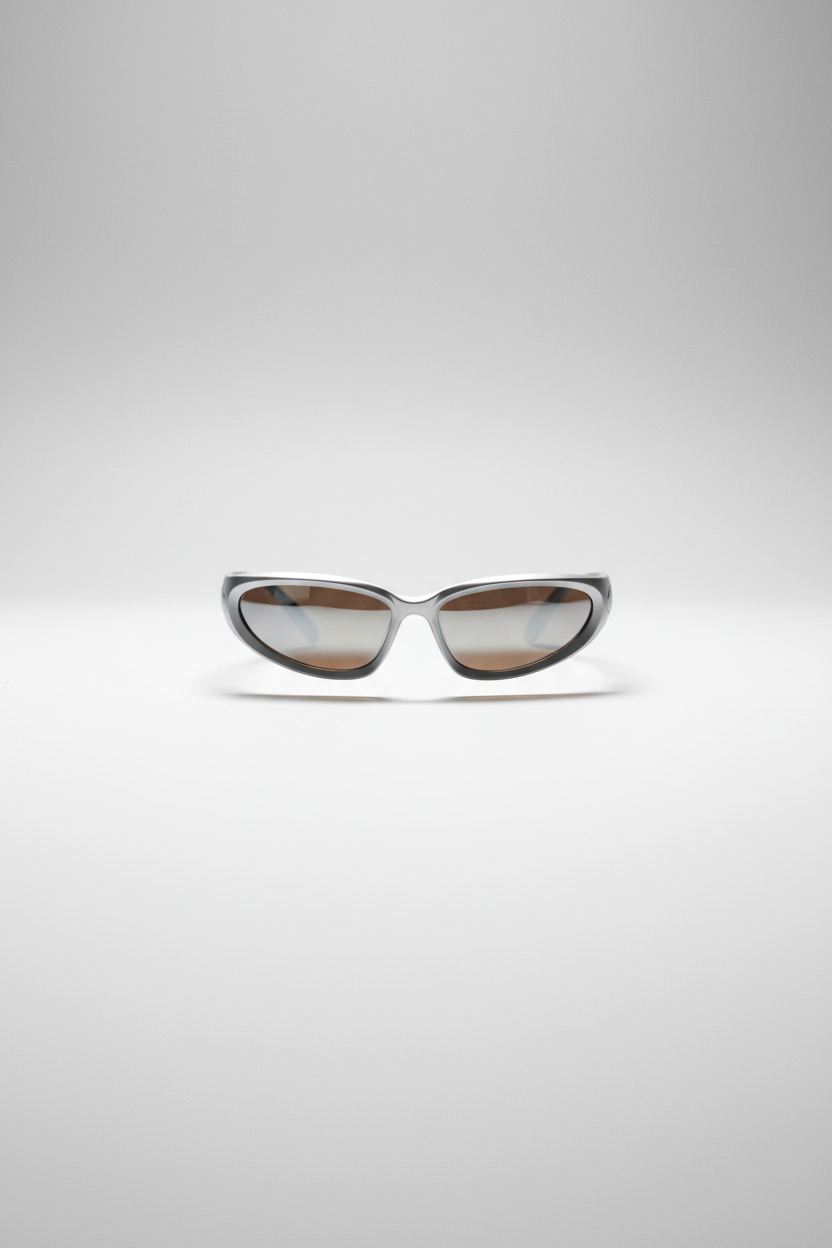
1. Studio hero: style=studio, plan=hero-shot
This output places the glasses front-on against a pale seamless background with a soft grounded shadow. It is the clearest catalog-style result in the set and leaves generous blank space for a storefront layout. It is a strong main-image candidate only if the altered silver frame shape still matches the SKU.
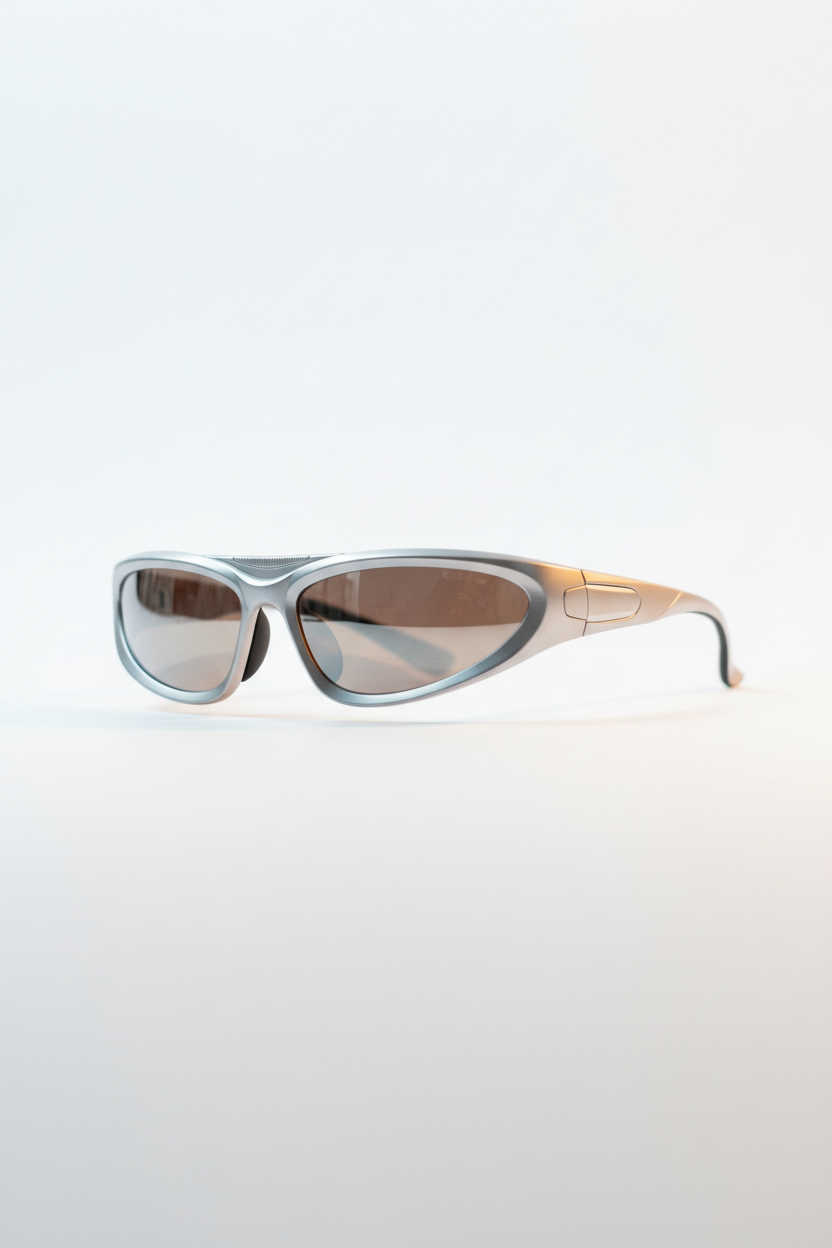
2. Studio close-up: style=studio, plan=close-up
The second image moves to a low three-quarter view. It makes the temple and hinge area more visible, which is useful when material finish matters. The drawback is visible too: the right arm and small details are plausible rather than dependable product documentation.
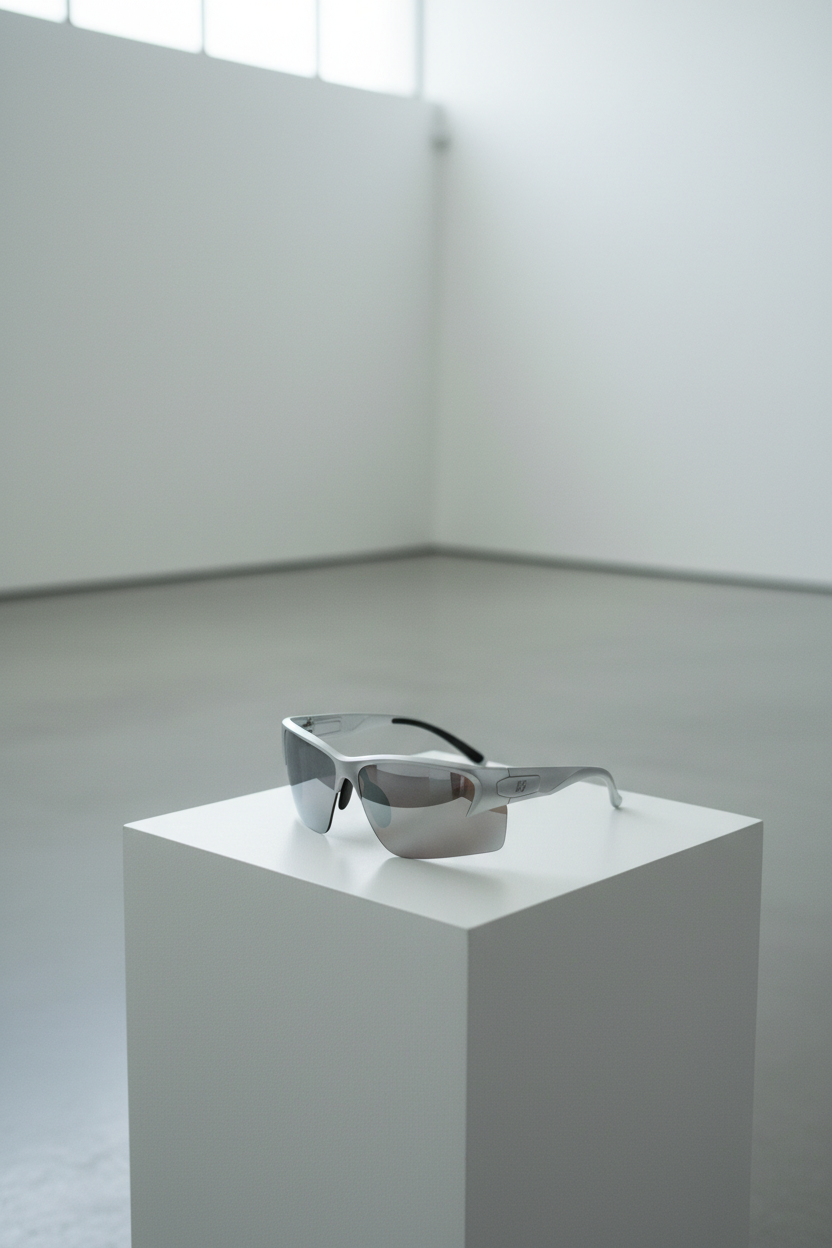
3. Minimalist hero: style=minimalist, plan=hero-shot
This result puts a different-looking, sportier pair on a white cube in a bare room. The composition is minimal and the negative space works, but it is also the clearest reminder that the tool can reinterpret the item. Pick this direction for a campaign visual, not for a strict marketplace listing.
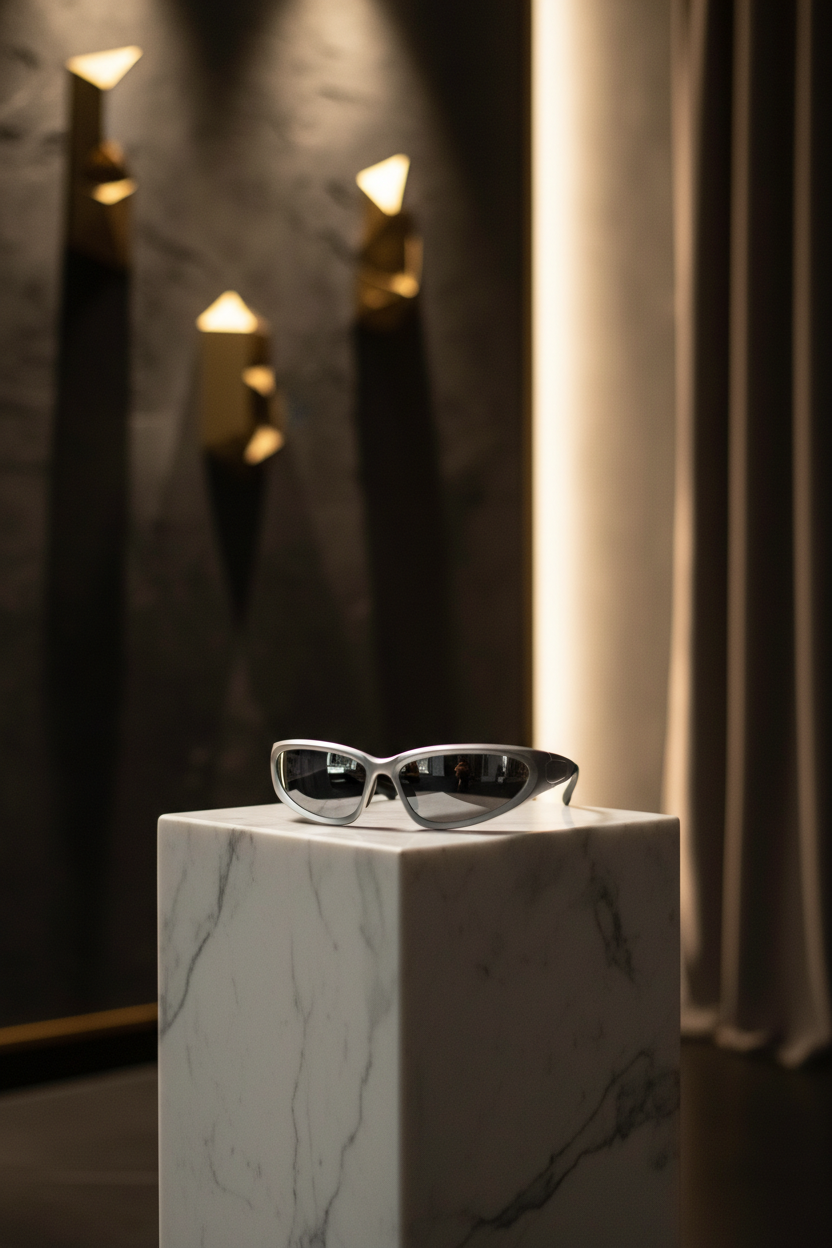
4. Luxury hero: style=luxury, plan=hero-shot
The luxury recipe uses a marble plinth, warm wall lights, and deep shadow. It creates a premium mood quickly and gives the product a believable place in a landing-page hero. The scene is stronger than the product fidelity: reflections and frame proportions should be checked before use.
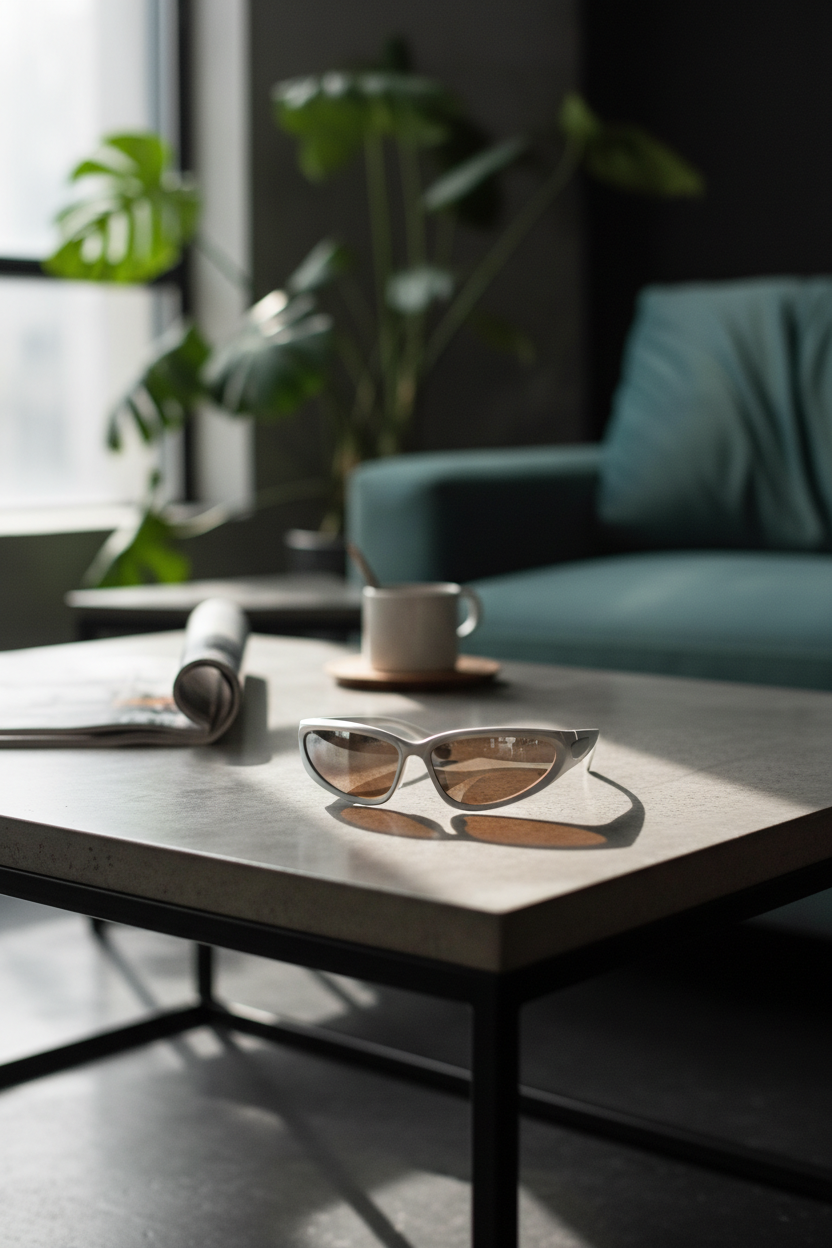
5. Lifestyle action: style=lifestyle, plan=action-shot
Despite the action-shot label, this output is a quiet living-room scene. The glasses sit on a table with a chair, magazine, mug, and window light. It succeeds as a lived-in context image, but no person is using the product. Choose it for atmosphere, not for proof of fit or activity.
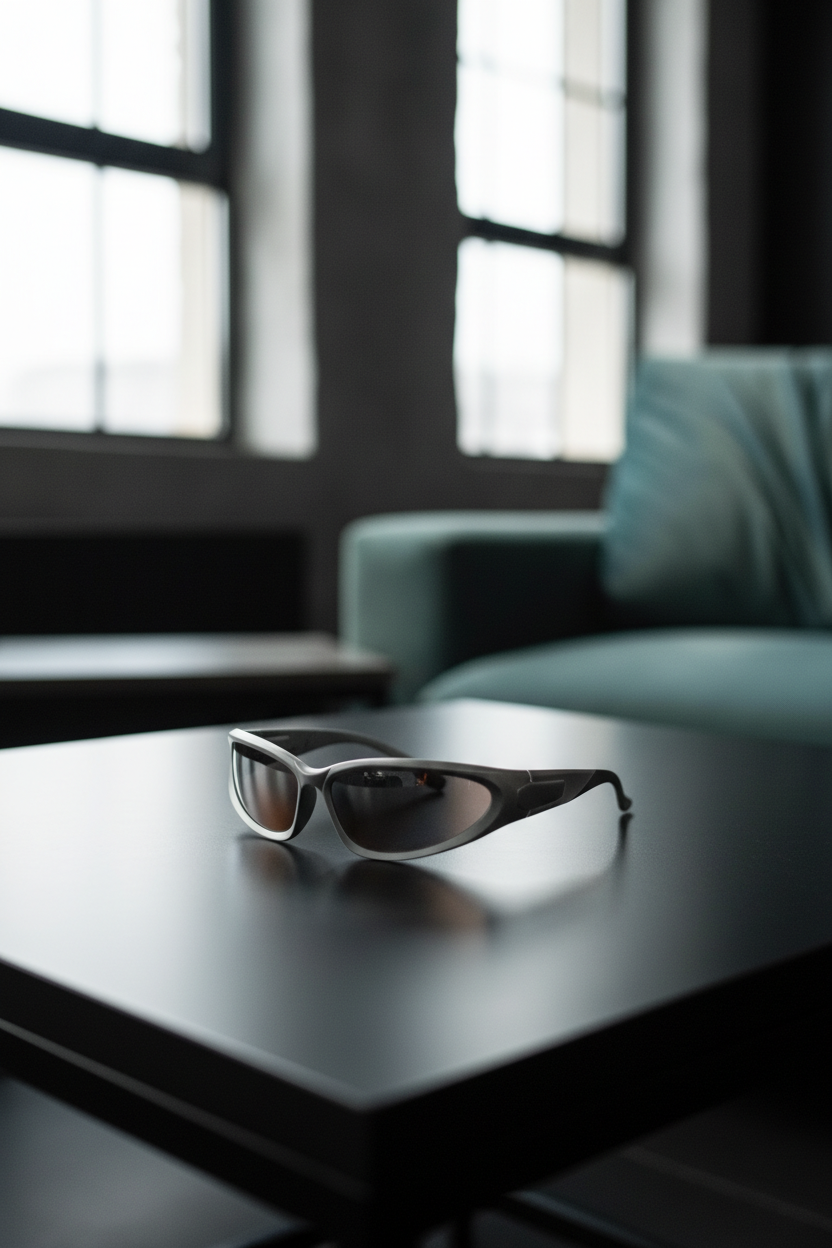
6. Lifestyle scale context: style=lifestyle, plan=scale-context
This image also shows the glasses on a table in an interior, with a tighter crop and darker finish. It gives a sense of domestic scale through furniture, but no reliable measurement cue. It is better read as a secondary lifestyle image than a scale reference.
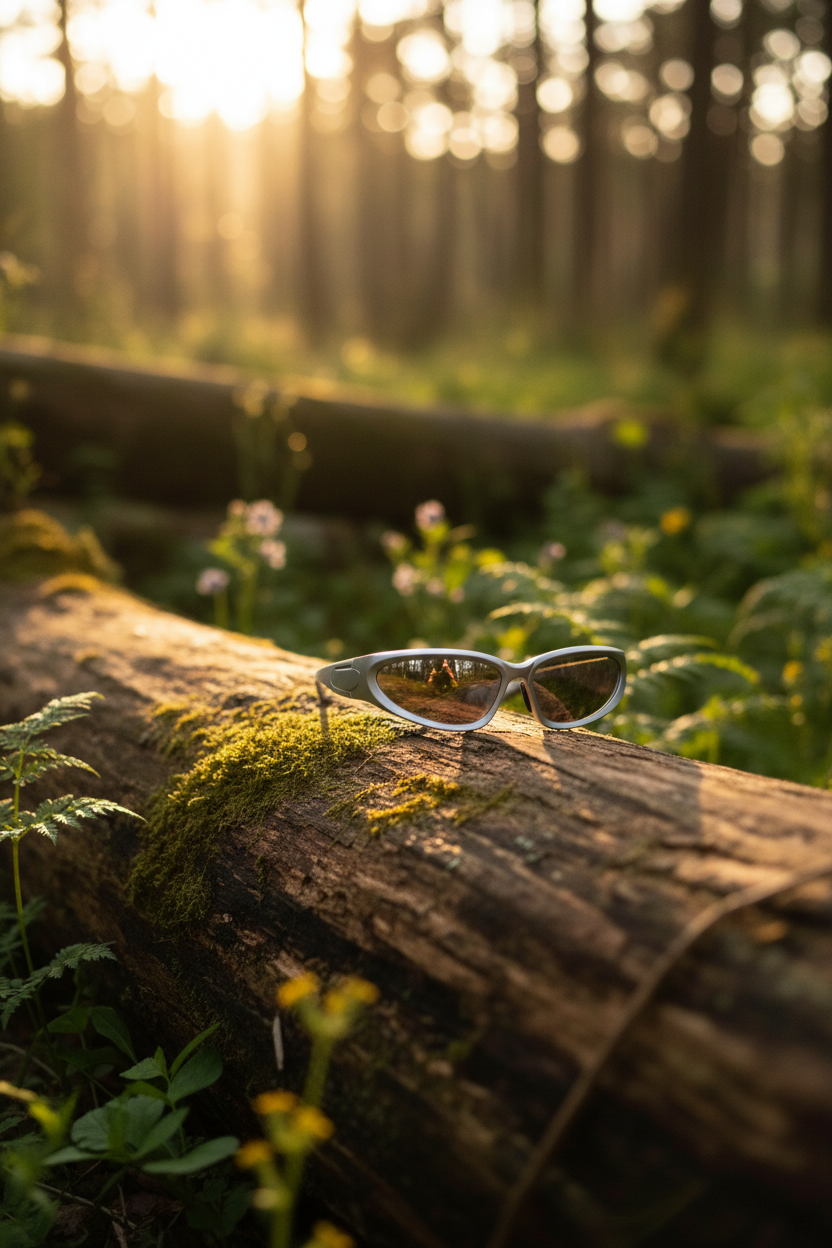
7. Outdoor hero: style=outdoor, plan=hero-shot
The outdoor hero sets the glasses on a mossy log in warm woodland light. It sells an outdoorsy mood and keeps the subject readable against the background. It also shifts the work from catalog photography into campaign creative, where an invented location is less risky.
8. Outdoor action: style=outdoor, plan=action-shot
This is another woodland still life, now with a closer front view on a moss-covered rock. It has shallow depth of field and warm backlight, but it does not depict motion or use. It can work in social creative when the goal is feeling rather than a literal action scene.
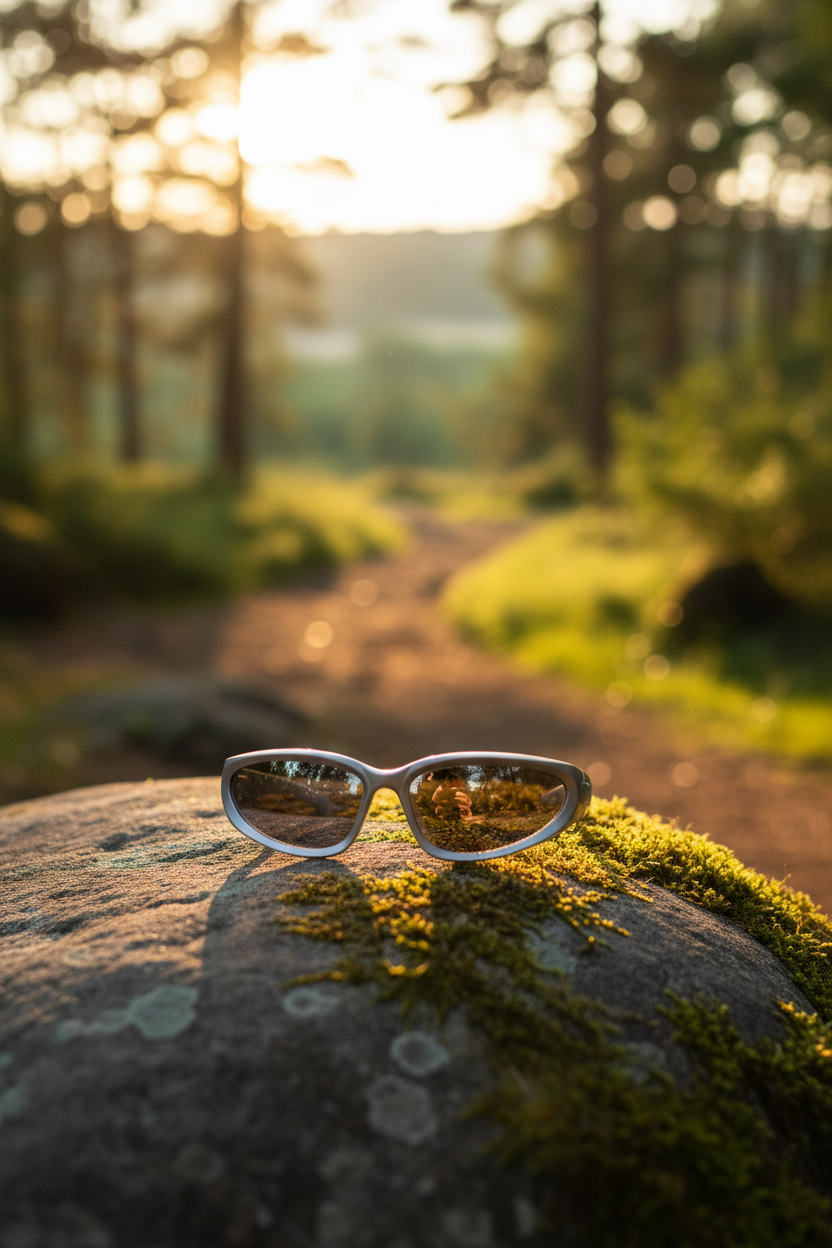
9. Flat-lay packaging: style=flat-lay, plan=packaging
The flat-lay output is a top-down marble arrangement with glasses, a wallet, pen, stones, and a small dish. It looks composed and leaves the product easy to spot. It does not show actual packaging, so it should not be used to represent included accessories or the delivered box.
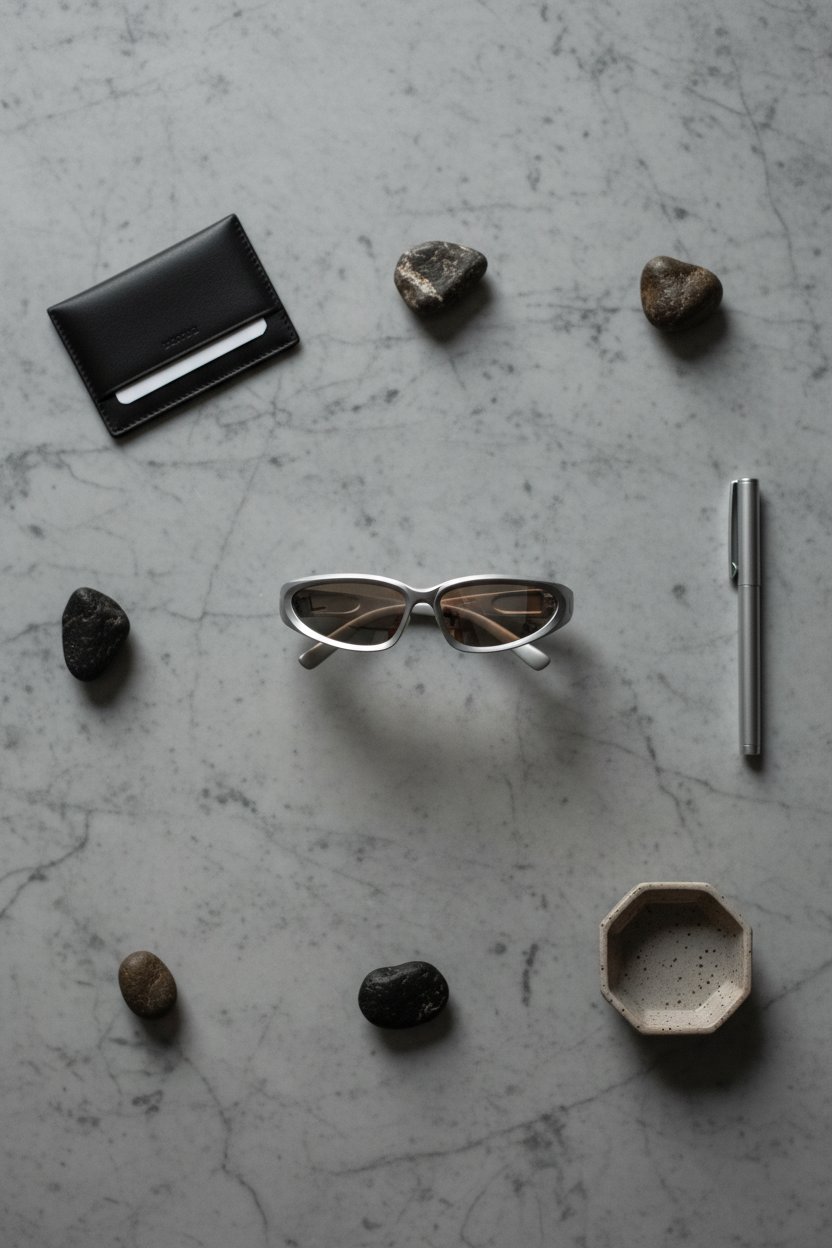
10. Flat-lay close-up: style=flat-lay, plan=close-up
This output lowers the camera and brings the glasses forward among desk props. It works as a carousel detail frame because the subject remains central and the background is controlled. The props are invented, so the image should remain editorial rather than factual product photography.
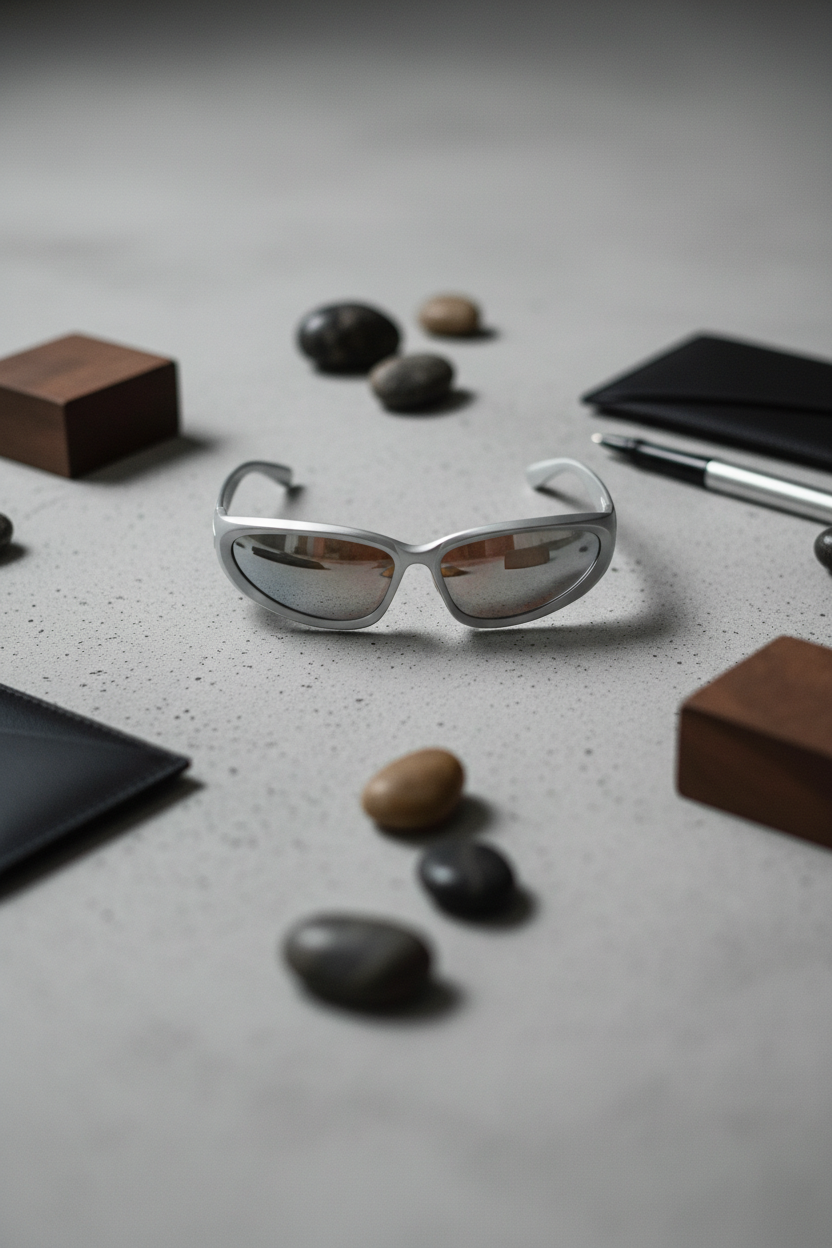
11. Editorial hero: style=editorial, plan=hero-shot
The editorial recipe places the glasses on a black plinth in a dark studio-like interior, with a bright panel at the edge of frame. It has the most deliberate magazine feel in the set. Use it for a feature banner or lookbook block, while checking that the model has not changed the product’s silhouette.
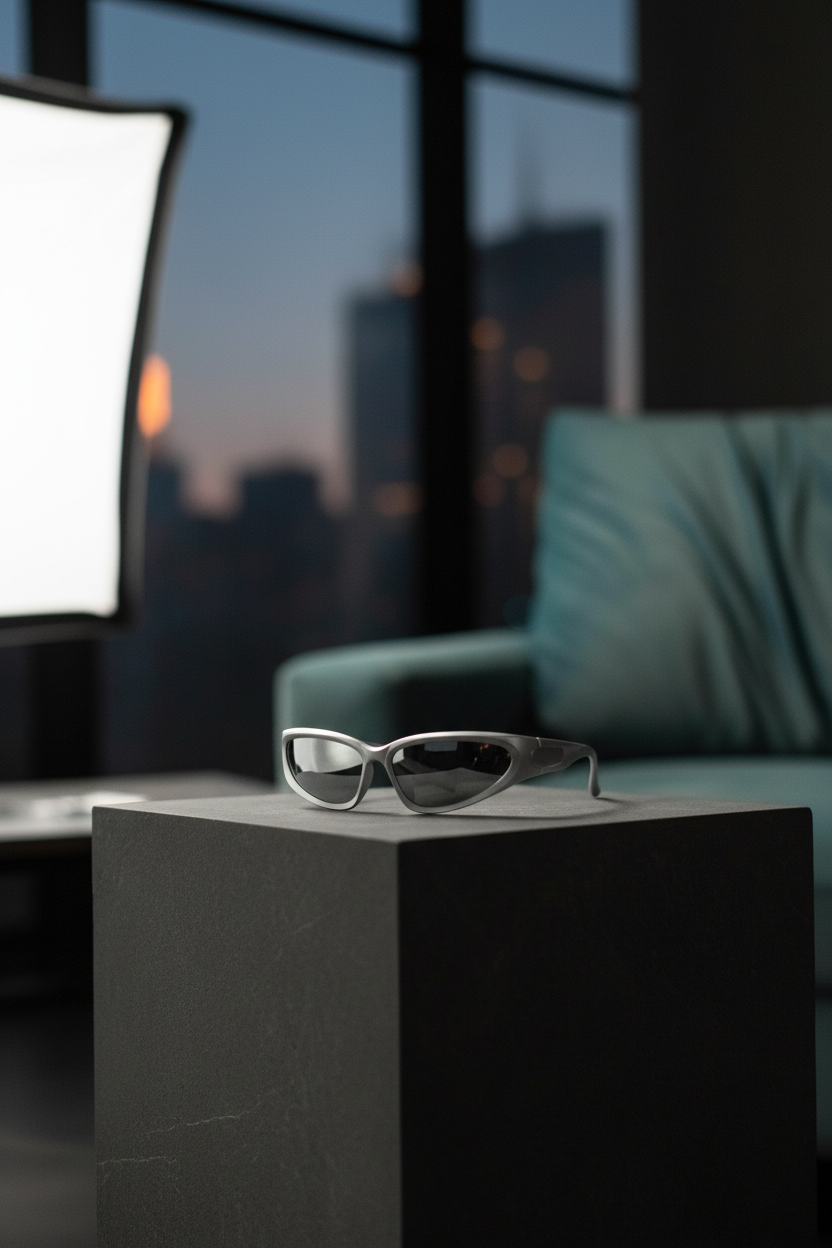
12. Auto baseline: style=auto, plan=auto
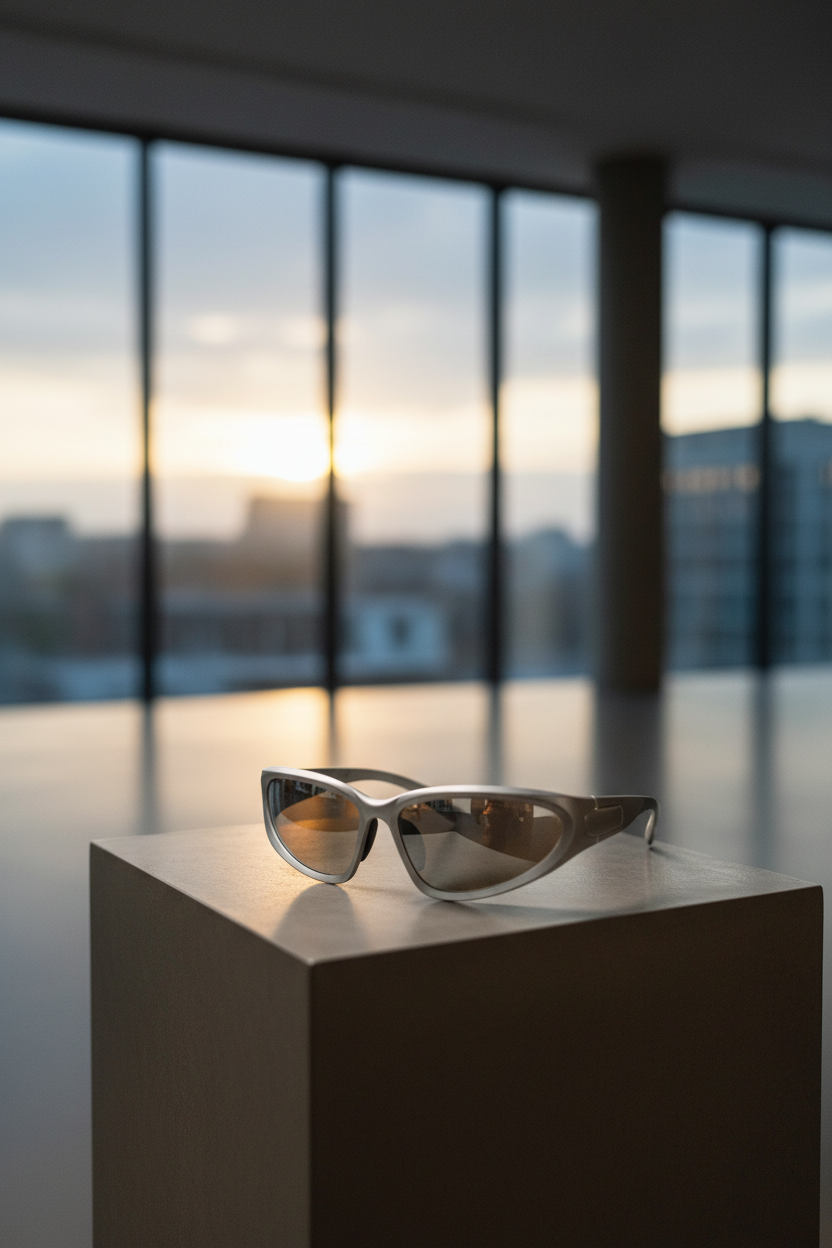
The auto result chooses an editorial-looking pedestal scene with a sunset window behind it. It is a useful first-pass direction because it produces a usable composition without a decision on either control. It is not a neutral baseline: it has a pronounced mood, so compare it against a studio option before making it the default.
Runtime and cost: what the records support
The model documentation includes an illustrative completed task with elapsedseconds=6.0000. That is the only documented runtime in the material reviewed, and it is not a promise for these 12 archived outputs. Their original run records do not retain per-image elapsed time, so no fabricated timing estimates appear here.
The same documentation also contains a cancelled-task example whose metadata lists totalcost=0.003510000000. A cancelled example is not a published price sheet and does not establish a price per output. Wiro’s model page should be checked at run time for the current charge. This distinction matters: runtime and cost can vary with queue conditions, output choice, and future model changes.
Which Product Photoshoot recipe to pick
| Need | Best first pick | Why | Review before publishing |
|---|---|---|---|
| Product detail page main image | Studio hero | Plain background and clear product focus | Frame shape, lens tint, logos |
| Material or hinge detail | Studio close-up | Three-quarter composition exposes more surface | Hardware and arm geometry |
| Premium campaign banner | Luxury hero or editorial hero | Purposeful light and display surfaces | Reflections and product identity |
| Social or seasonal creative | Outdoor hero | Strong location and warm narrative | Any claim implied by the setting |
| Quick direction finding | Auto baseline | Useful composition without control choices | Whether its mood fits the brand |
For a tighter ecommerce workflow, start with studio hero and studio close-up, then add one mood-led image such as luxury, outdoor, or editorial. Keep generated images away from claims about exact construction, accessories, dimensions, or colorways unless the final image has been verified against the product. For adjacent workflows, see product photography prompts with GPT Image 1.5, Store Image Generator mockups from one product photo, and Product with Model recipes for image-to-video ads.
Run the tool at Wiro Product Photoshoot when the goal is to explore art direction from a source image. Treat the output as campaign-ready only after a human checks the product itself.