Camera Angle Editor: 6 Before/After Viewpoint Changes
Camera Angle Editor changes perspective on an existing image. It does not just rotate a crop. It attempts to synthesize a new viewpoint while keeping the subject consistent. The tests below use the same input images and swap the camera angle parameter.
Model link
Settings used
- Angles tested: top-down, three-quarter, low-angle, high-angle, isometric, diagonal
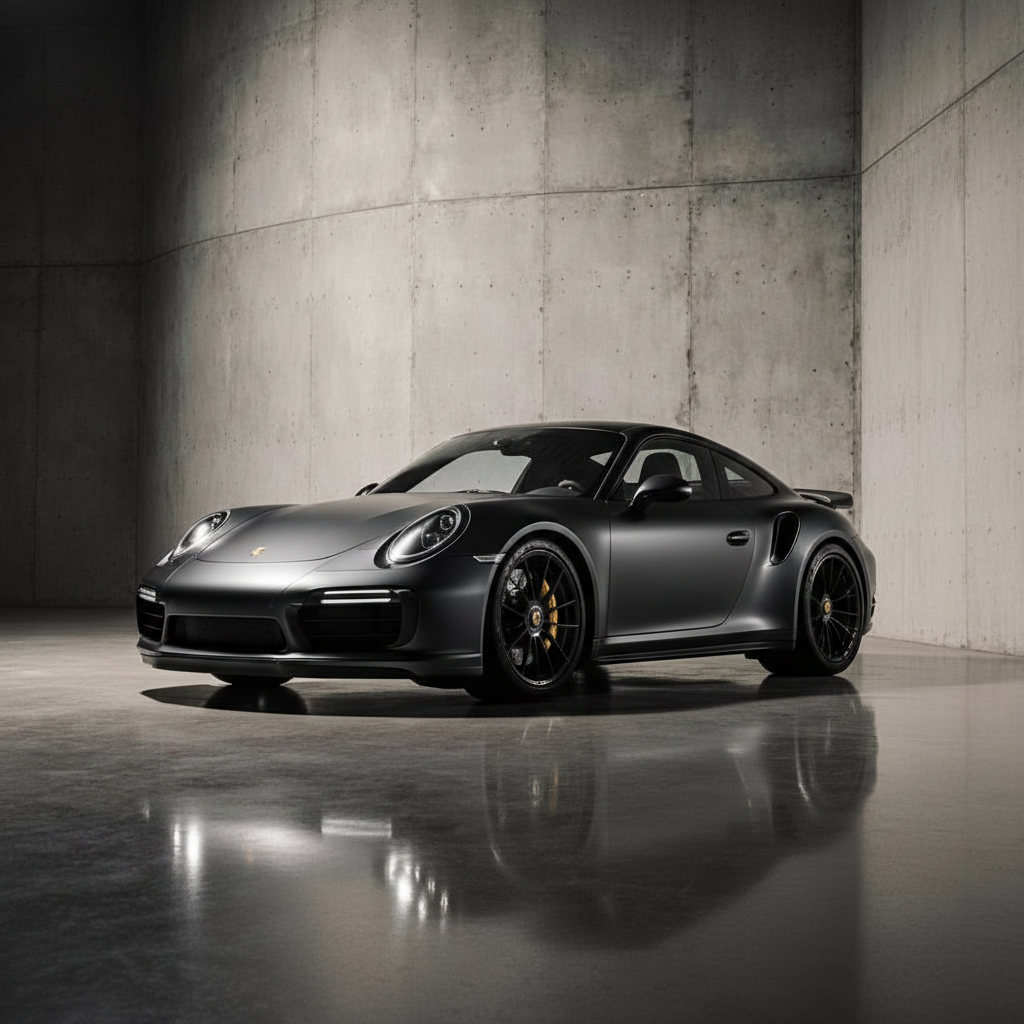
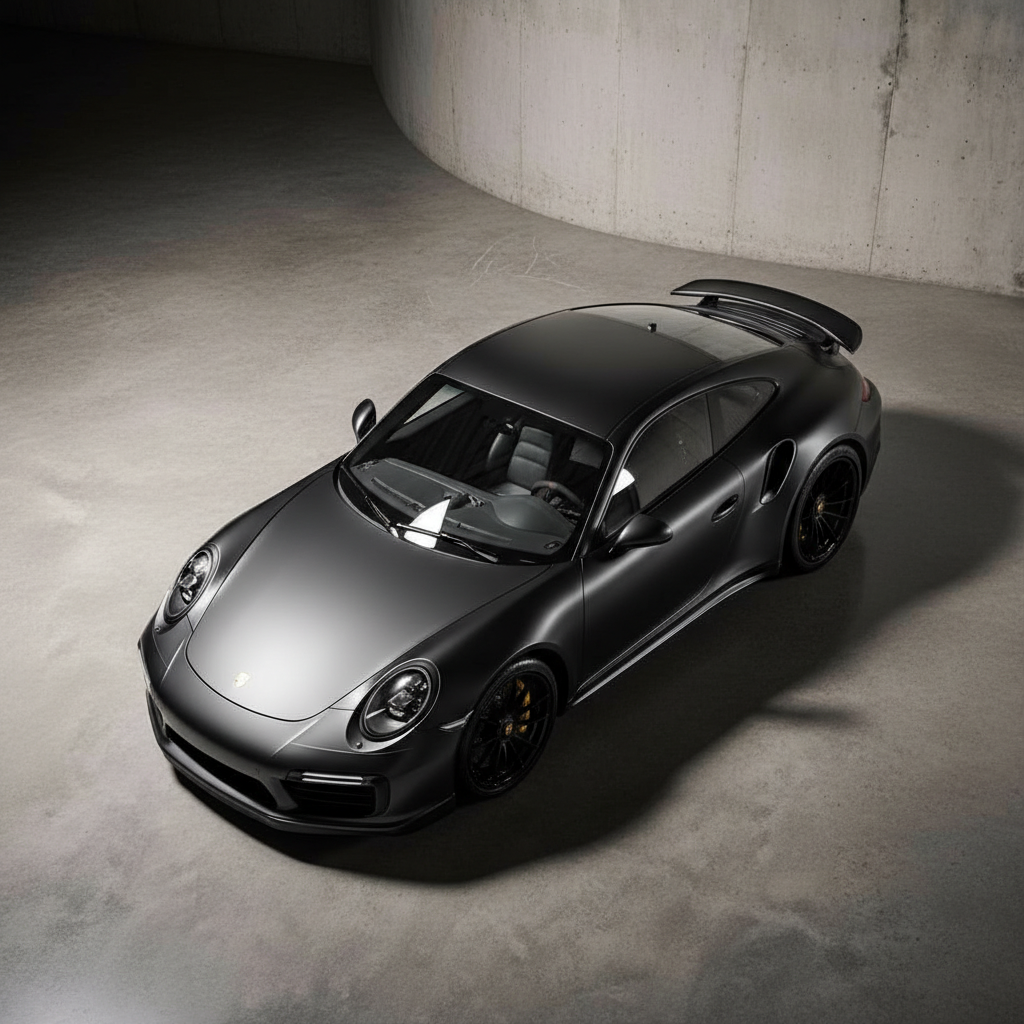
1) Top-down view (input 1)
| Before | After |
|---|---|
 |
 |
This test checks whether the model keeps object proportions when the camera moves above the scene.
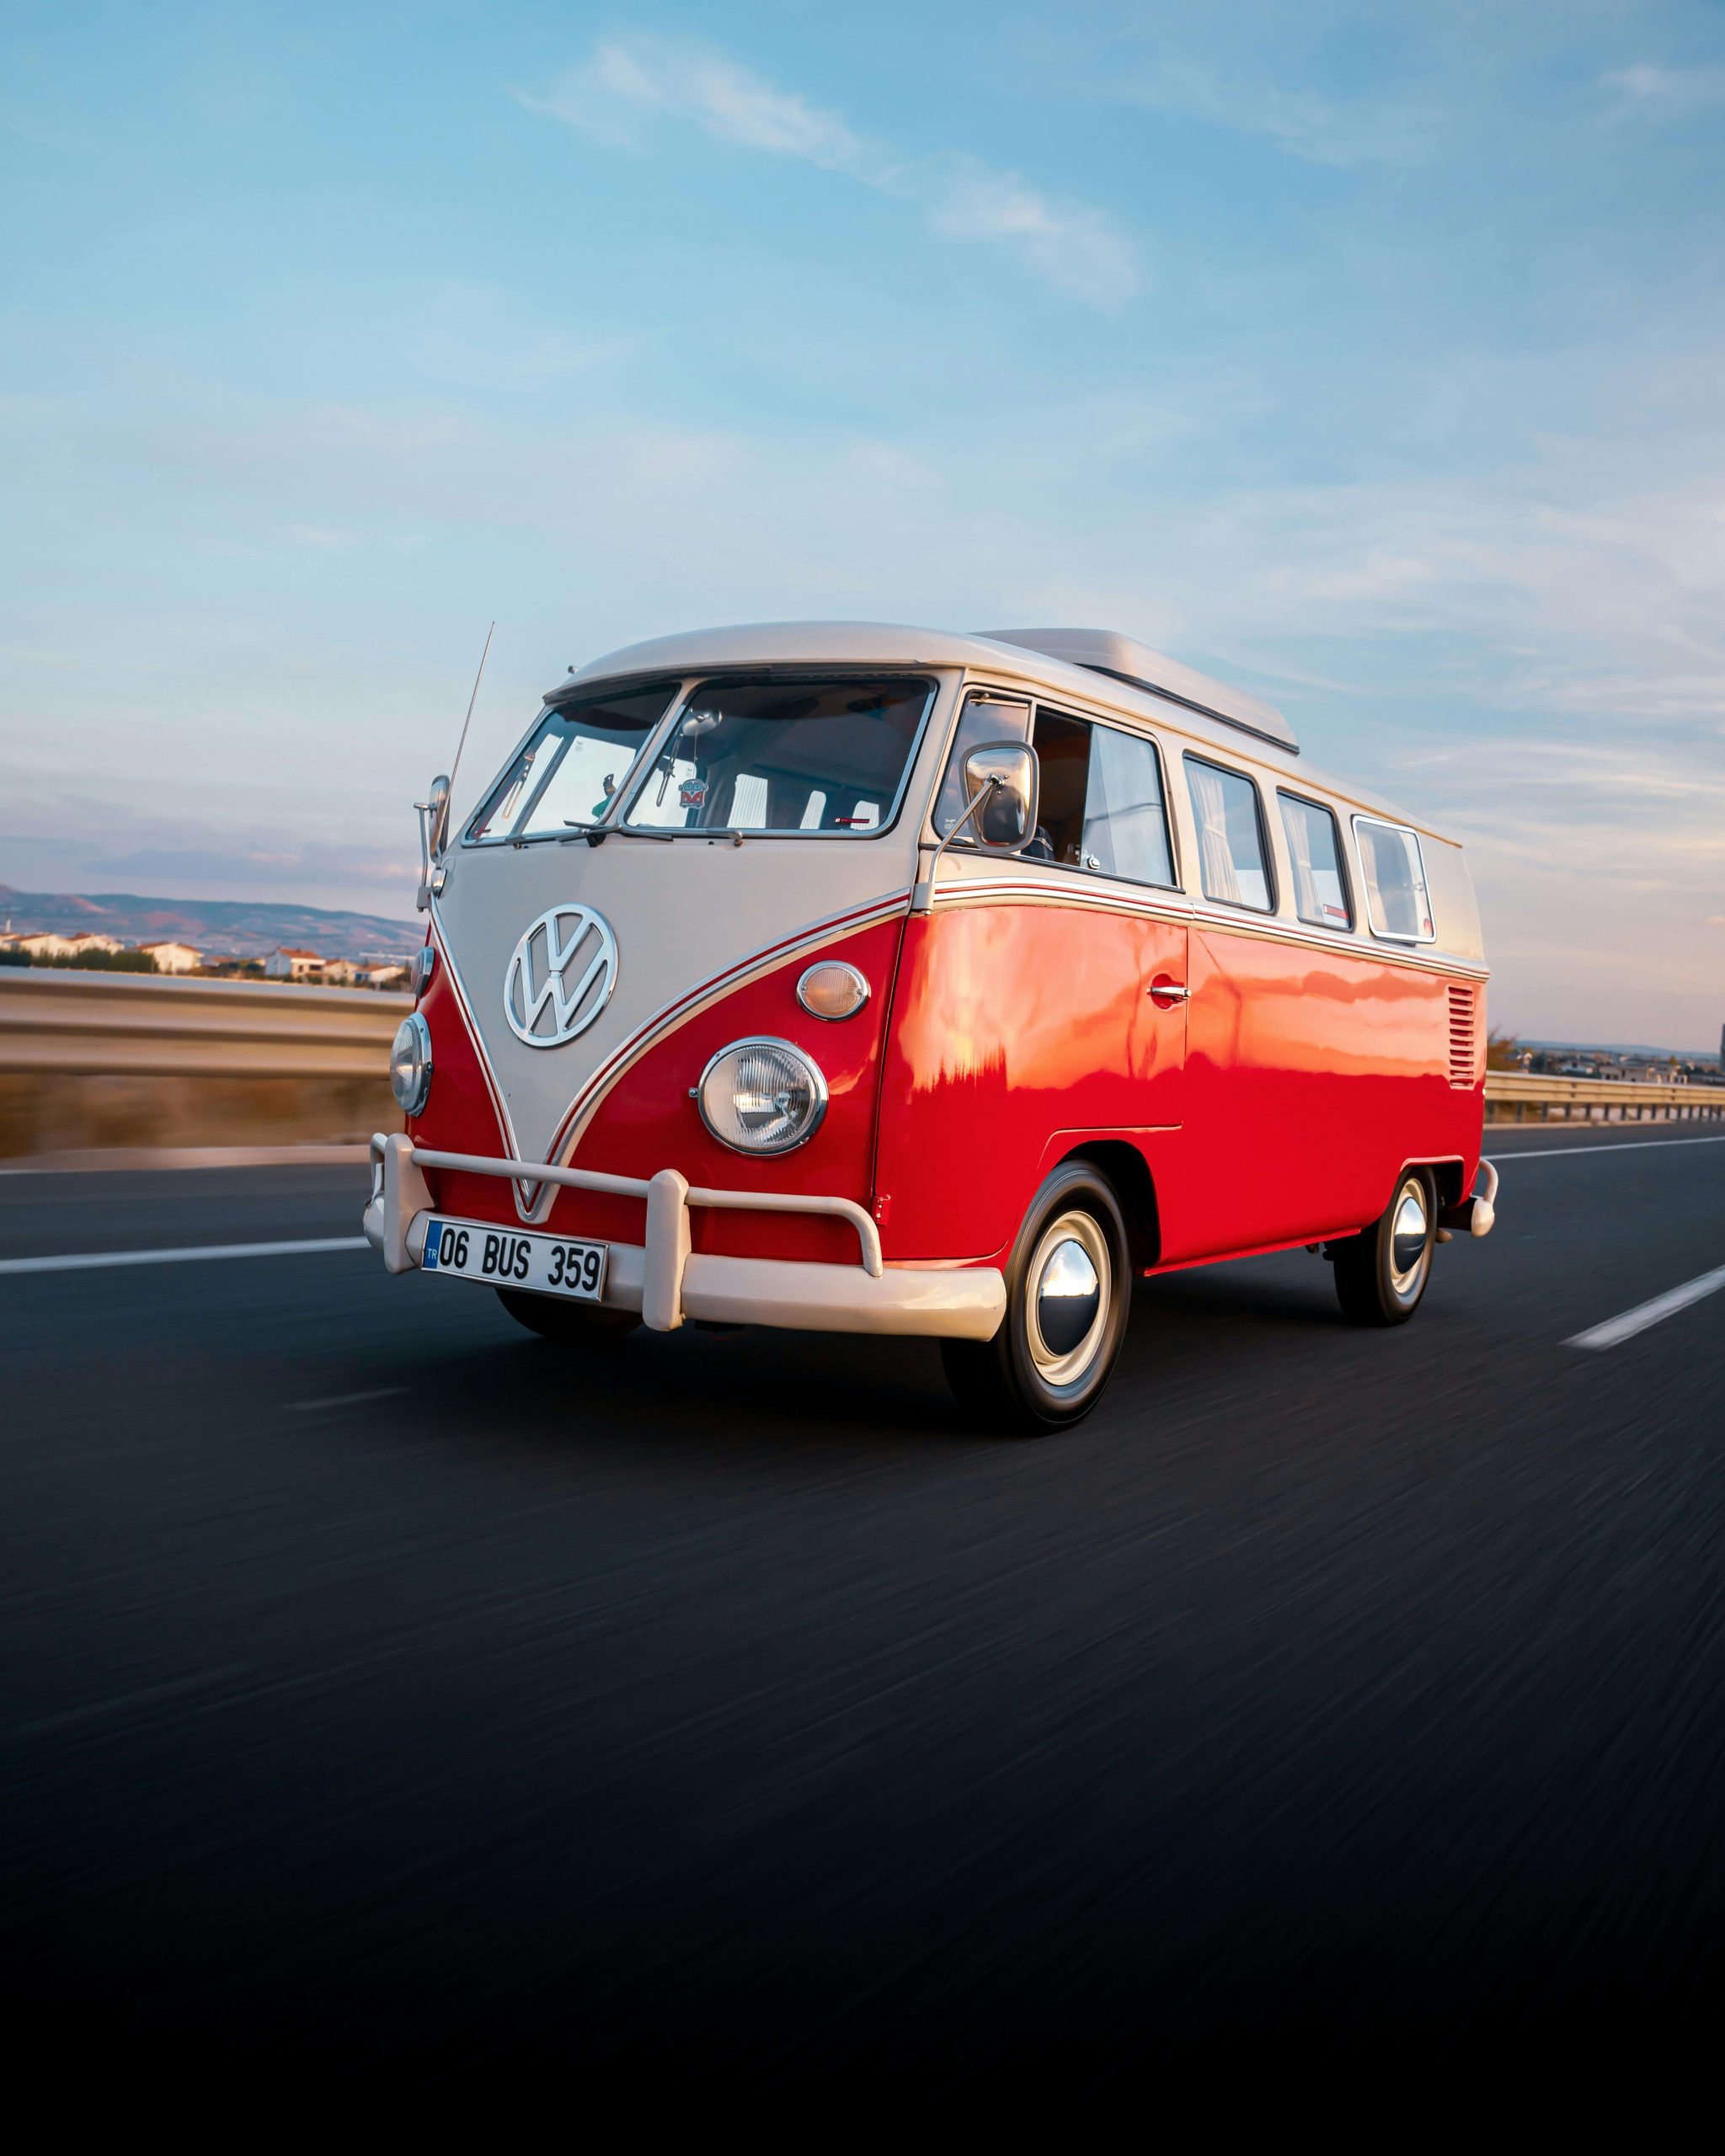
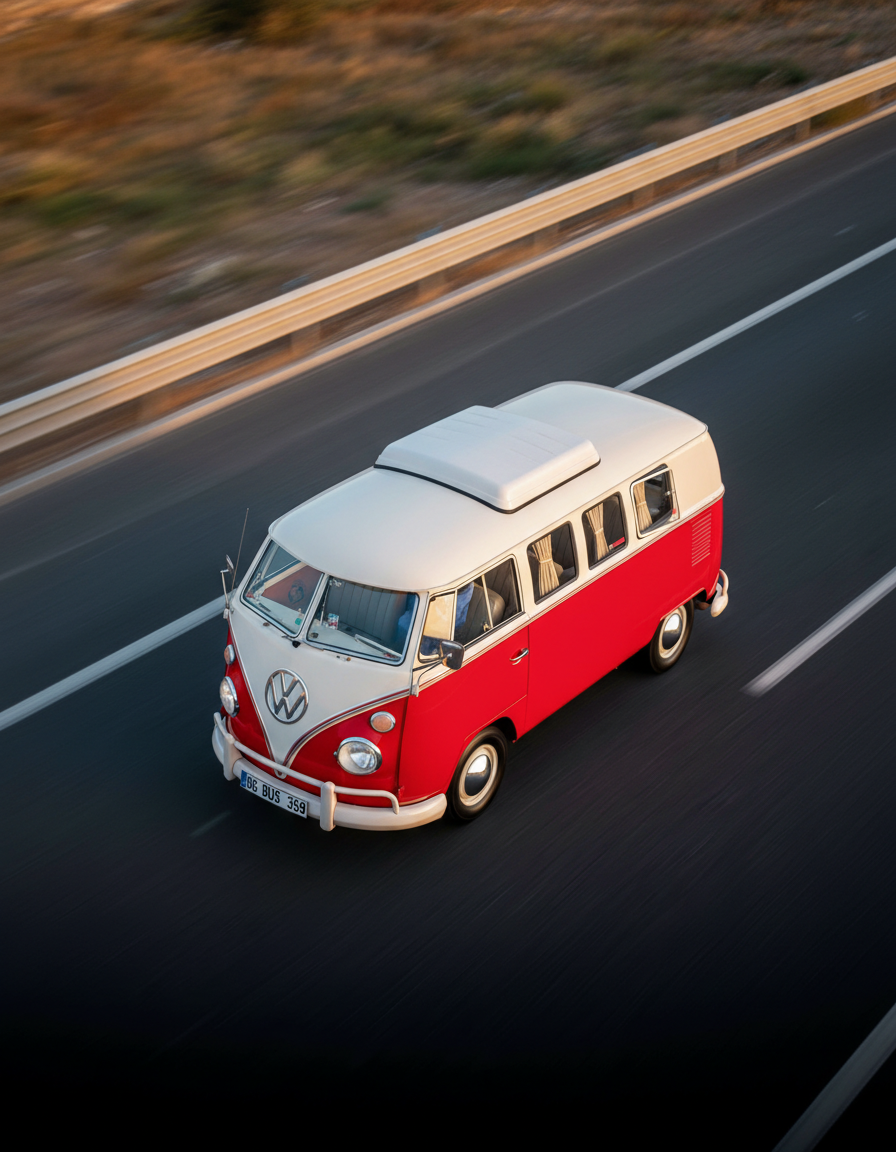
2) Three-quarter view (input 1)
| Before | After |
|---|---|
|
|
 |
This angle often looks most natural. It keeps depth cues without extreme distortion.
3) Low-angle view (input 2)
| Before | After |
|---|---|
 |
 |
Low angles stress geometry. Look for stretched edges or broken straight lines.
4) High-angle view (input 2)
| Before | After |
|---|---|
|
|
 |
High angles can introduce hallucinated background details. This test checks scene stability.
5) Isometric view (input 4)
| Before | After |
|---|---|
 |
 |
Isometric views make inconsistencies obvious. Parallel lines must stay parallel.
6) Diagonal dynamic view (input 4)
| Before | After |
|---|---|
|
|
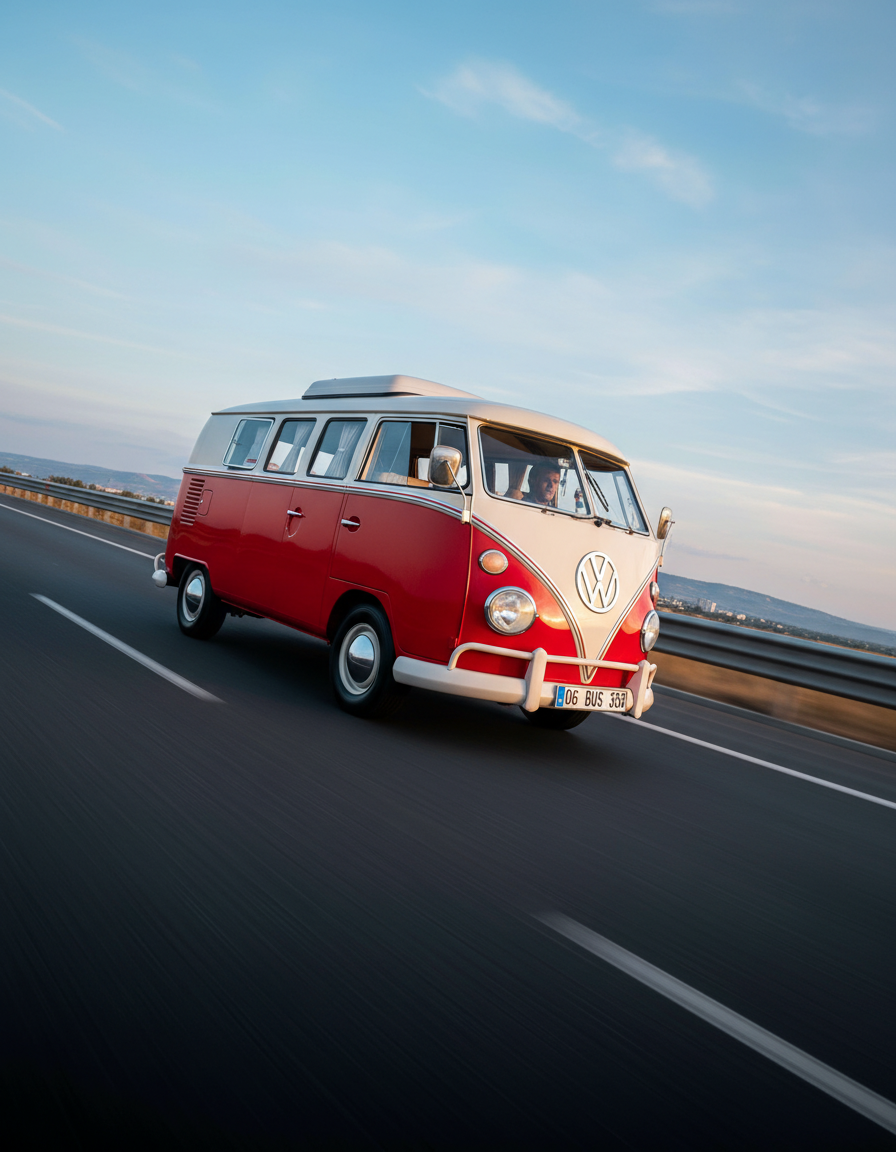 |
Diagonal angles push perspective hardest. A good result keeps the subject sharp and the background coherent.