Flux Kontext Max Multi: 6 Two-Image Edits
Multi-image editing gets interesting when a prompt can pull details from a second reference without wrecking the base photo. These examples use Flux Kontext Max Multi to do logo placement, hair color transfer, pattern application, and object-level rearrangements.
Model link
Test setup
- Prompt upsampling: false
- Safety tolerance: 2
- Output format: jpeg
Edit 1: Put a logo on a shirt (photo + logo)


This is a clean test for multi-image grounding. A good output keeps folds, lighting, and perspective from the base photo while integrating the logo from the reference.
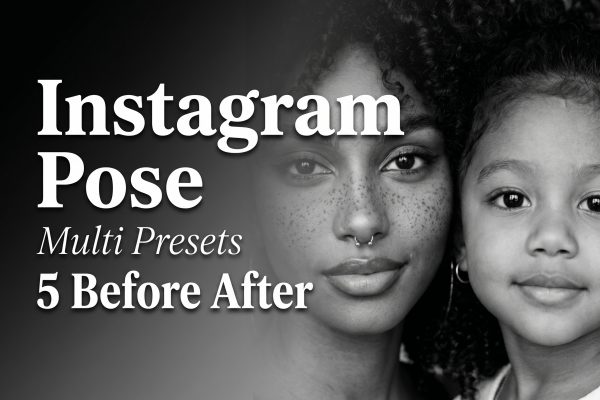
Edit 2: Hair look transfer (photo + color reference)


When this works, the face stays the same and only hair changes. If the output shifts identity, tighten the prompt to say “keep face, pose, and background unchanged”.
Edit 3: Apply a pattern to a wall (room + pattern)


This is one of the best use cases for multi-image edits: keep the geometry and lighting from the room, but borrow surface detail from the second image.
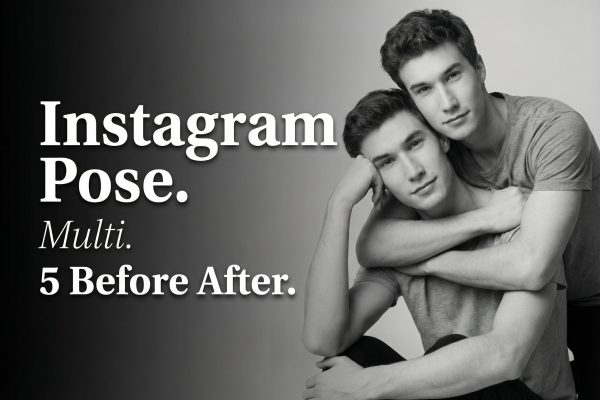
Edit 4: Logo placement on a stylized portrait (illustration + logo)


Stylized inputs test whether the edit follows the local style. The best outputs keep the illustration look and treat the logo like it belongs there.
Edit 5: Add a sleeve patch (photo + logo)

This kind of precise placement is where Kontext-style editing stands out compared to generic img2img. It should touch one region and leave everything else intact.
Edit 6: Remove an object + reposition another (two-image guidance)


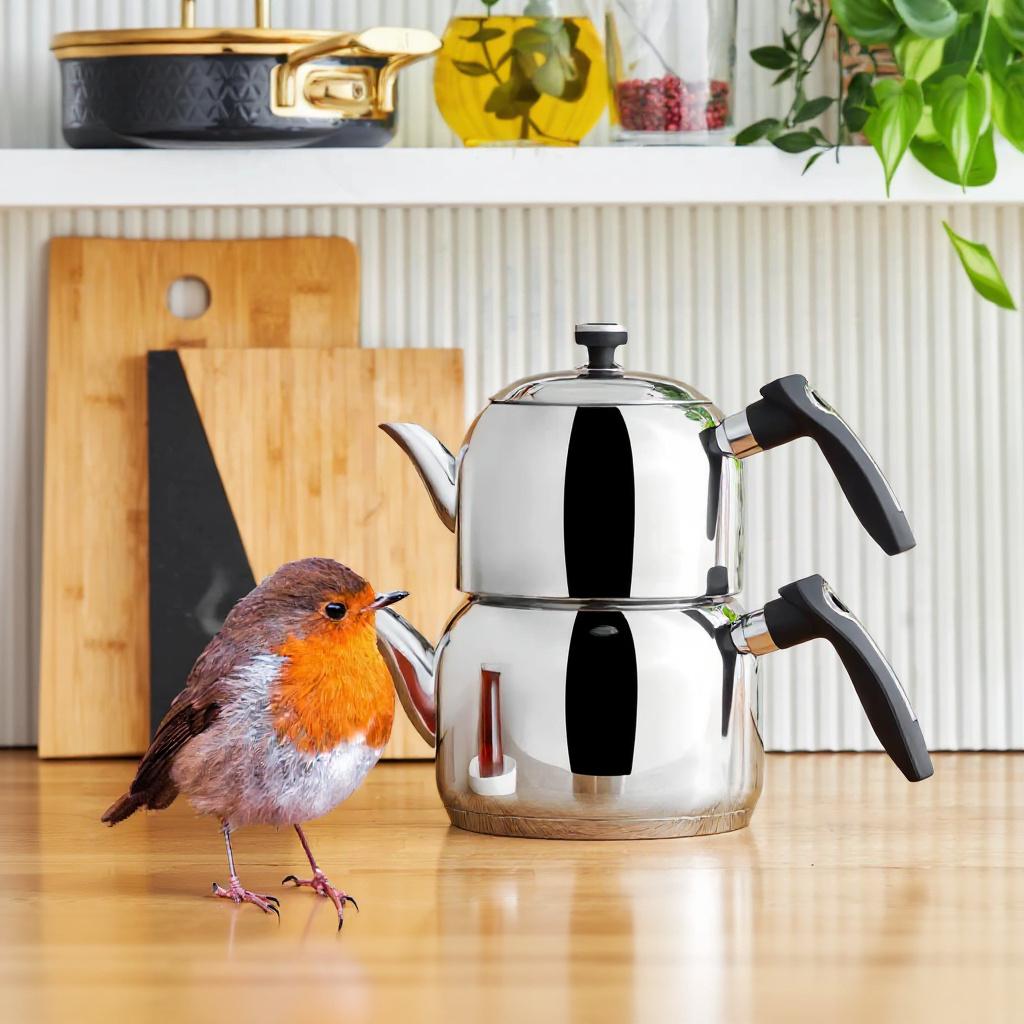
Multi-step prompts can work well, but they are sensitive. If one instruction fails, split it into two runs (remove first, then move) and keep the wording short.
Quick takeaways
| Use case | Why multi-image helps | Prompt tip |
|---|---|---|
| Brand/logo placement | Reference image can anchor shape and style | Say size and exact location |
| Pattern transfer | Borrow surface detail without changing geometry | Name the target region in plain words |
| Identity preservation | Base photo can stay stable while details change | Explicitly say what must stay unchanged |