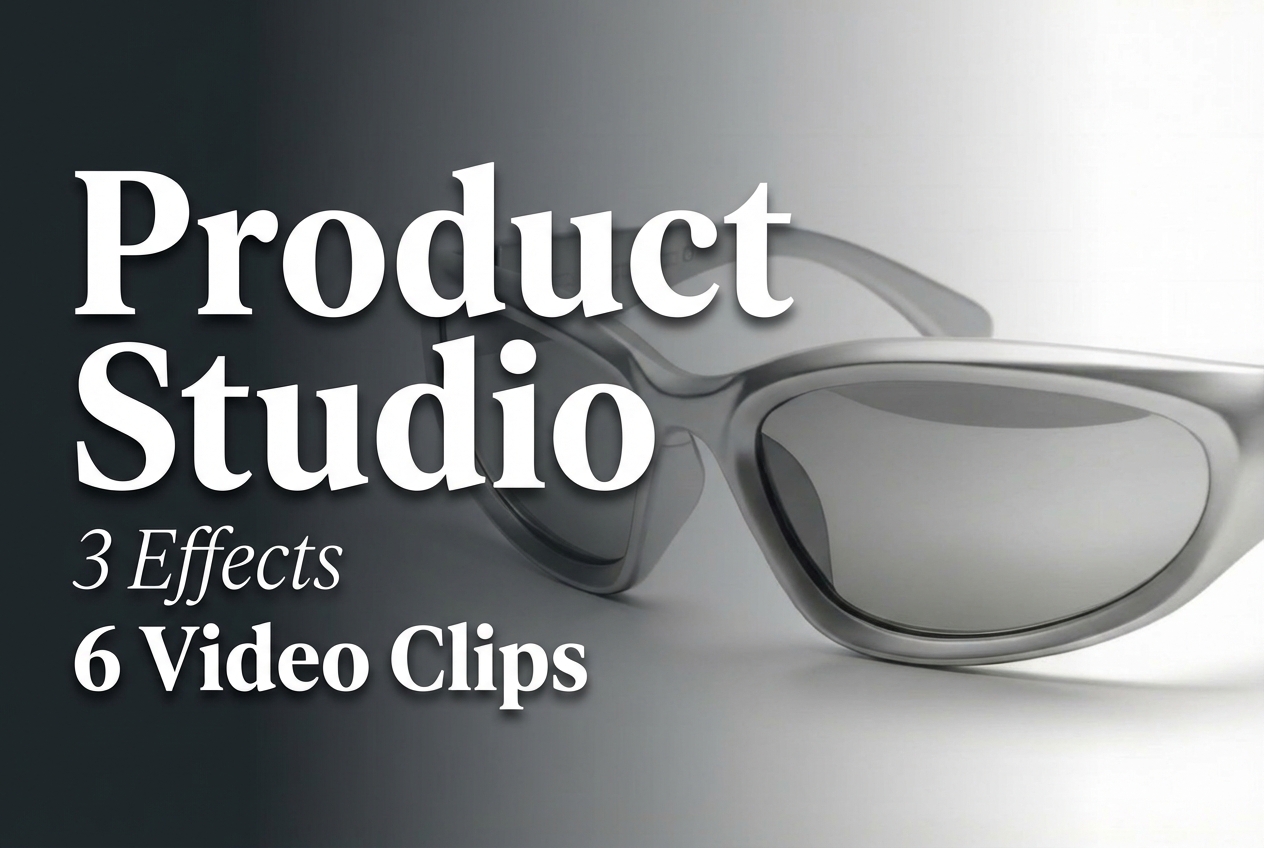
Product Studio is a focused image-to-video tool for turning a product photograph into a short, ready-to-place motion asset. This test keeps the experiment deliberately narrow: the same product image was used across three effects and two delivery ratios. The point was not to compare unrelated image generators or to claim that one clip replaces a studio shoot. It was to see how much the selected effect and frame shape change the usable result when the starting asset stays constant.
Model link: Product Studio on Wiro
What this test set out to check
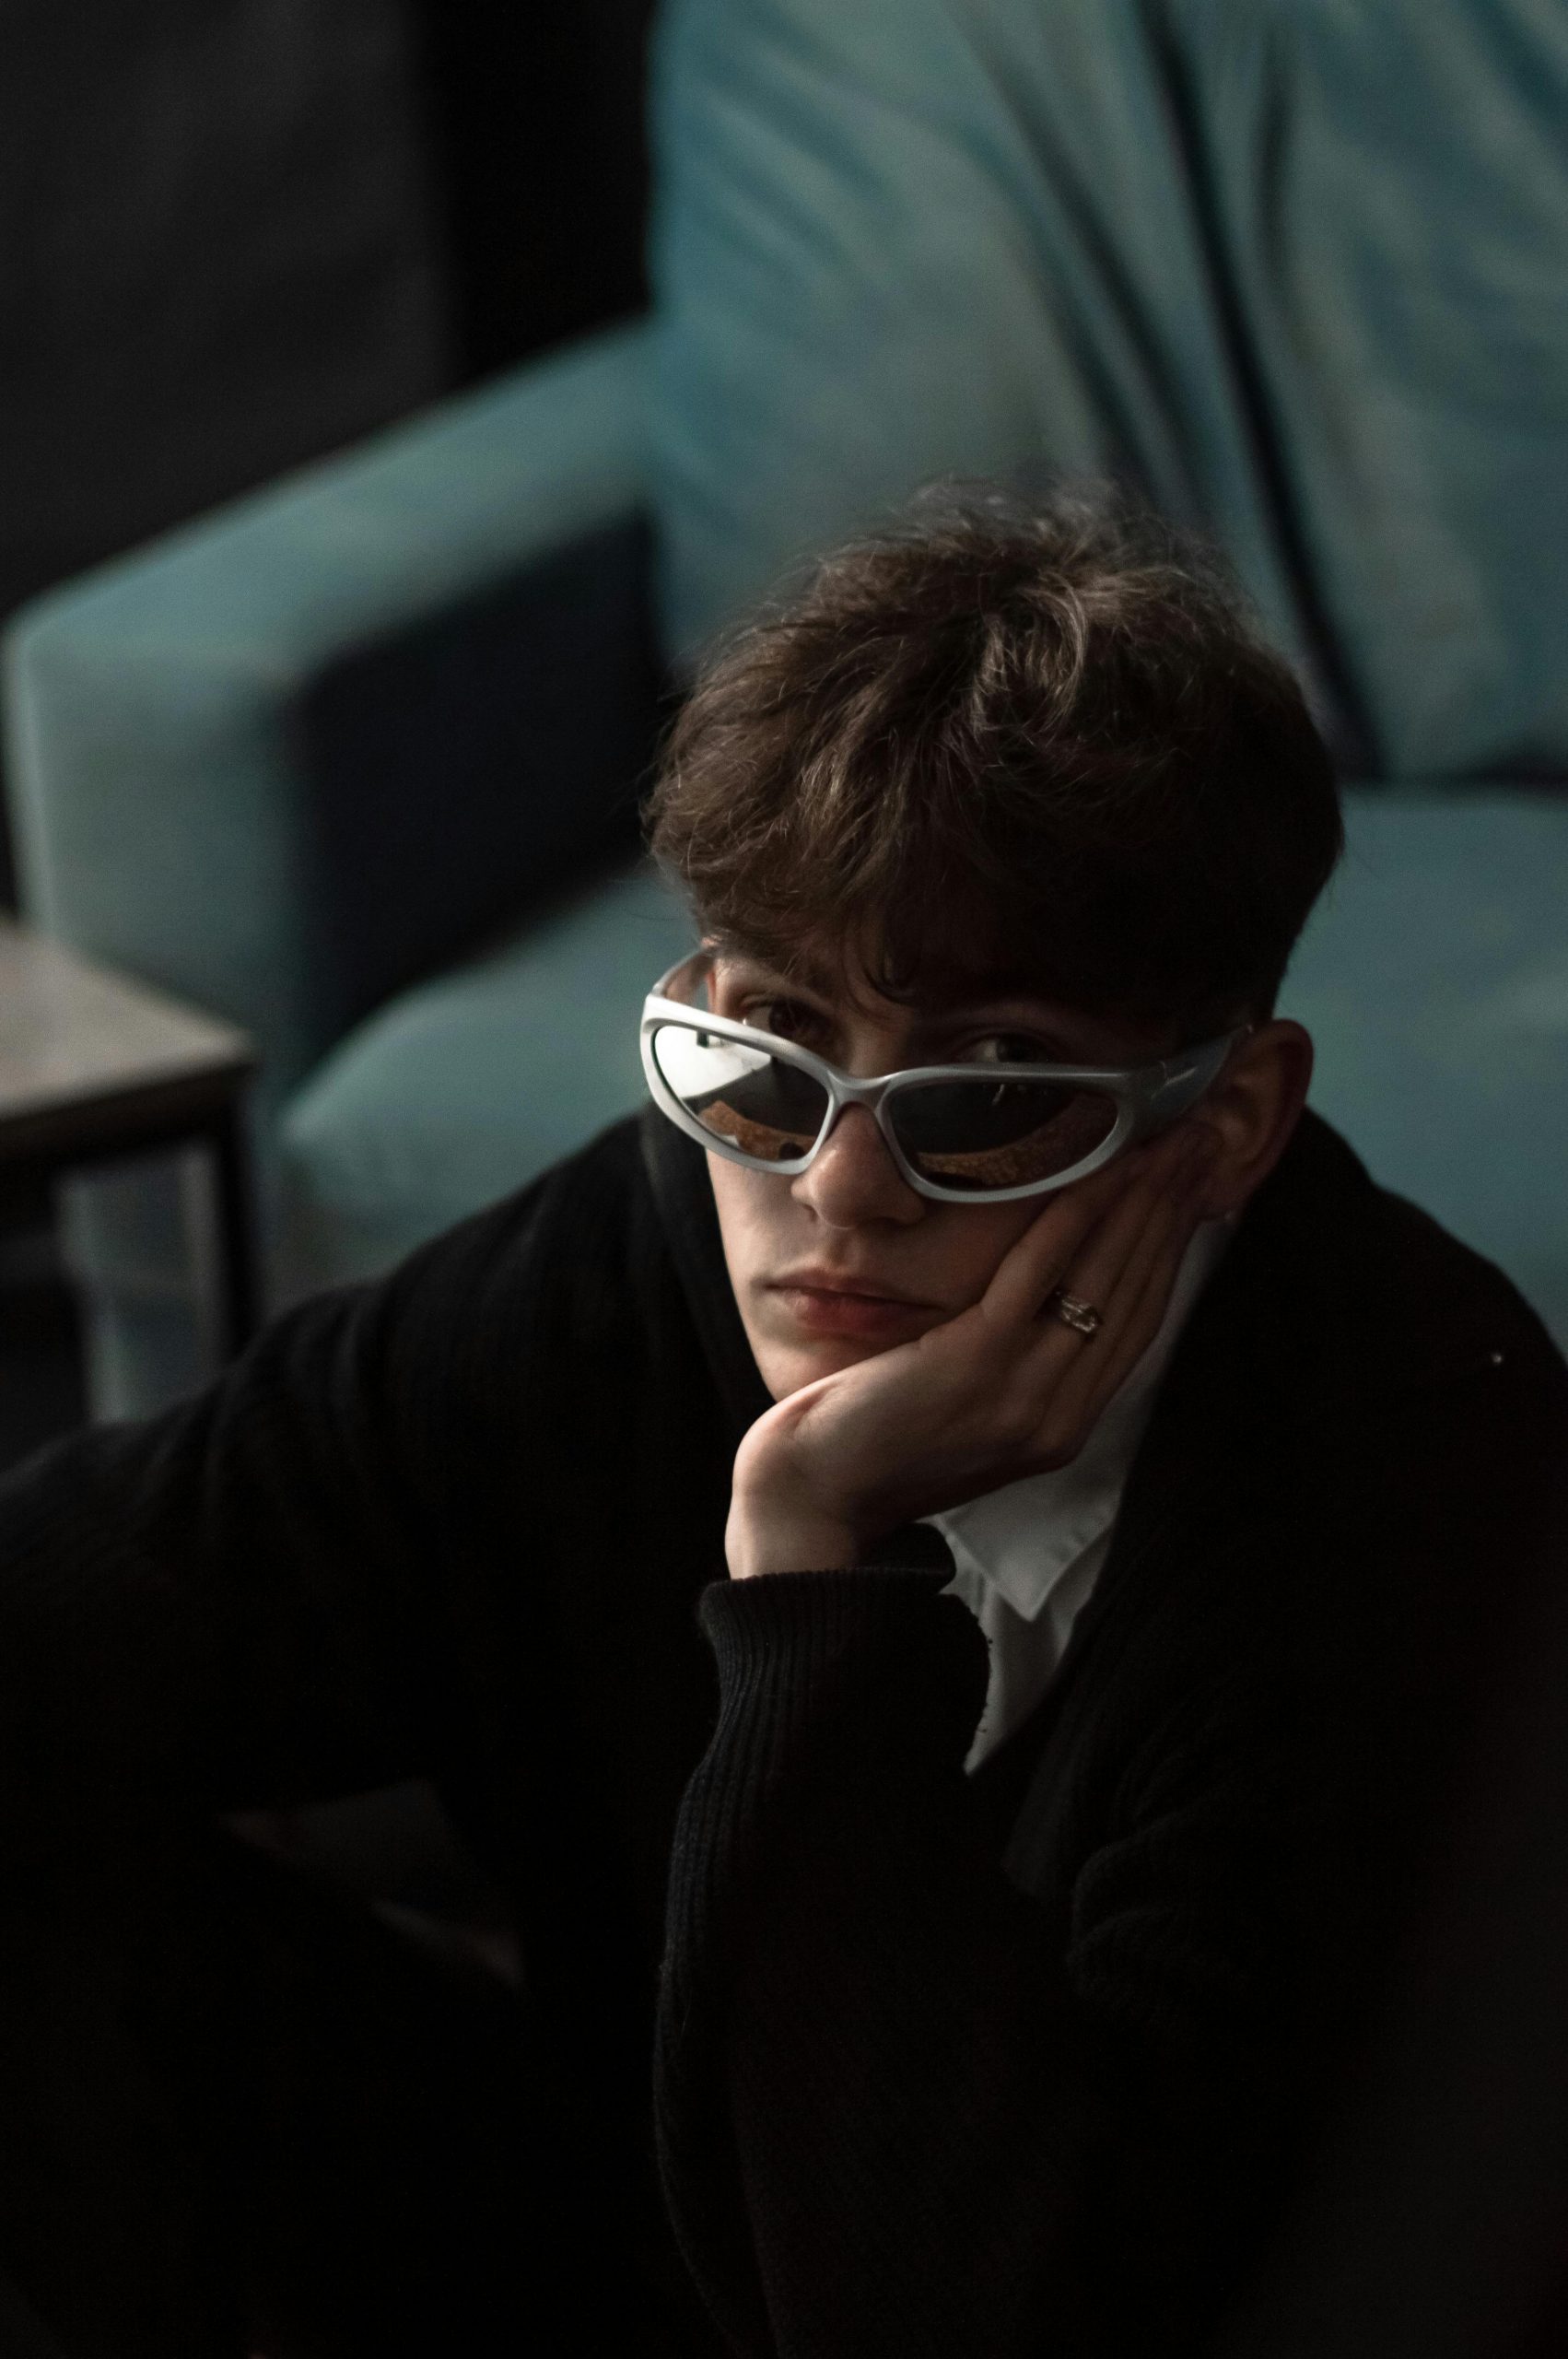
The test uses one WordPress-hosted product photo as the common starting point, then records six outputs: product-360, ghost-mannequin, and camera-movement-zoom-in, each rendered at 9:16 and 16:9. Holding the image constant makes the parameter changes legible. If the framing or motion feels different, the cause is the chosen effect or ratio rather than a different product image or a rewritten prompt.
There is no text prompt in the documented input set for this tool. The parameters used here are inputImage, effectType, and ratio. Product Studio currently documents three ratios: 9:16, 16:9, and 1:1. This article tests the two landscape/vertical options that are already embedded below; it does not make a claim about the untested square setting. The model documentation also says that Product 360 takes a front image and can take a back image, in that order. The shared test asset here is a single product photo, so the 360 clips should be read as single-view generations, not proof that the tool reconstructed a complete back view.
Input photo
Parameters, timing, and cost
Each embedded result is identified by its exact effect and ratio in the caption. No additional prompt, camera-path field, duration field, seed, or strength setting is documented for this model input. That constraint is useful: the effect selector is the main creative decision, and the ratio is the placement decision.
The public Product Studio documentation includes a sample task record with elapsedseconds: 6.0000, but that record is an API example rather than metadata for any of the six clips in this post. It also includes a cancelled-task example with totalcost: 0.003510000000, which is not a completed-run price quote. Neither example establishes the runtime or cost of these particular outputs. For that reason, this review does not assign a made-up per-output cost or a universal six-second runtime. Check the task details in your Wiro project for the elapsed time and charged total of your own run; queue time, source image handling, and product changes can make those values differ.
Effect 1: Product 360
Parameters: effectType=product-360; ratios 9:16 and 16:9; the same single input photo. The two files below are the actual recorded outputs for this setting. They present the product as a turntable-style motion treatment rather than a conventional camera push. In this single-photo test, the important limitation is visibility: a back image was not supplied, so any apparent rotation should be judged for continuity rather than treated as verified coverage of hidden product details.
Ratio 9:16
effectType=product-360, ratio=9:16.Ratio 16:9
effectType=product-360, ratio=16:9.When to pick it: choose Product 360 when the product itself is the story and you want a turntable-like asset for a product-detail area, a marketplace listing, or a short paid placement. Use a front and back image whenever the unseen side matters. If the listing needs a factual inspection view, retain the original stills too; generated motion is not a substitute for verified product photography.
Effect 2: Ghost Mannequin
Parameters: effectType=ghost-mannequin; ratios 9:16 and 16:9; one product image. Product Studio describes this option for a garment image. The embedded results are therefore best interpreted as apparel-oriented catalog treatments: the effect is intended to direct attention to the item as if it were presented without a visible wearer. This is a more specialised choice than the turntable setting, and it will be most meaningful when the input is clearly clothing rather than a general retail object.
Ratio 9:16
effectType=ghost-mannequin, ratio=9:16.Ratio 16:9
effectType=ghost-mannequin, ratio=16:9.When to pick it: pick Ghost Mannequin for apparel catalog work where the garment silhouette is more useful than a lifestyle scene. It is not the first choice for footwear, hard goods, or products whose value depends on showing a person using them. Before publishing, inspect seams, sleeve openings, neckline edges, logos, and any product text frame by frame. Those are the places where an apparel presentation effect can become misleading if the source photograph is weak or the generated transition changes a real detail.
Effect 3: Camera Movement Zoom In
Parameters: effectType=camera-movement-zoom-in; ratios 9:16 and 16:9; the same input photo. These two outputs are the test’s straightforward attention-directing option: the selected treatment is a zoom-in movement, not a simulated rotation and not an apparel-specific display. It is the easiest of the three effects to evaluate against its name because the creative intent is simply to bring the viewer closer to the product.
Ratio 9:16
effectType=camera-movement-zoom-in, ratio=9:16.Ratio 16:9
effectType=camera-movement-zoom-in, ratio=16:9.When to pick it: choose Camera Movement Zoom In when the first frame already contains a strong product composition and the goal is to add urgency or focus without inventing a new viewing angle. Vertical 9:16 is the natural fit for full-screen social placements; horizontal 16:9 leaves room for a website hero, video module, or presentation layout. Keep the product centred with enough surrounding image area: a tight crop can make a zoom feel cramped and can push a label or product edge out of frame.
Practical verdict
For this kind of one-photo test, the selection is less about a universally “best” output and more about the job to be done. Use Product 360 for a product-led turntable impression, with two views where coverage matters. Use Ghost Mannequin only for clothing imagery that benefits from a clean catalog presentation. Use Camera Movement Zoom In when you already like the still and need a concise motion cue for an ad or landing page. The ratio should follow the destination rather than personal preference: 9:16 for vertical placements, 16:9 for horizontal modules, and 1:1 only after testing it for square inventory.
These clips are useful as rapid creative variants, not as a replacement for product verification. Review every generated frame before it represents a real item for sale, especially when color, labels, construction, or included accessories are material to a buyer. For more Wiro video testing, see Lance Text to Video Review, WAN 2.7 Video: 5 Video Prompt Tests, and Grok Imagine Video: 5 Video Prompt Tests.
Try the model
Run Product Studio on Wiro. The official model documentation is available from the model page and is the source for the supported inputs and effect descriptions used in this test.